Showing posts with label 20th century. Show all posts

Saturday, March 7, 2020

Avada Ke-jodhpur

I have loved the Holyhead Harpies for a long time--which is saying something, because sports aren't typically my jam. But an all-witch quidditch team really spoke to me, and on my first trip to  WWoHP several years ago a Harpies t-shirt was the only memorabilia I brought home. I've wanted to make a Harpies outfit for Halloween/our local sci-fi convention in past years, but since sports aren't really my jam I was having trouble getting behind a set of quidditch robes. They just look so...sporty. Not to mention I'd never be able to wear them when not doing a Harry Potter Thing.
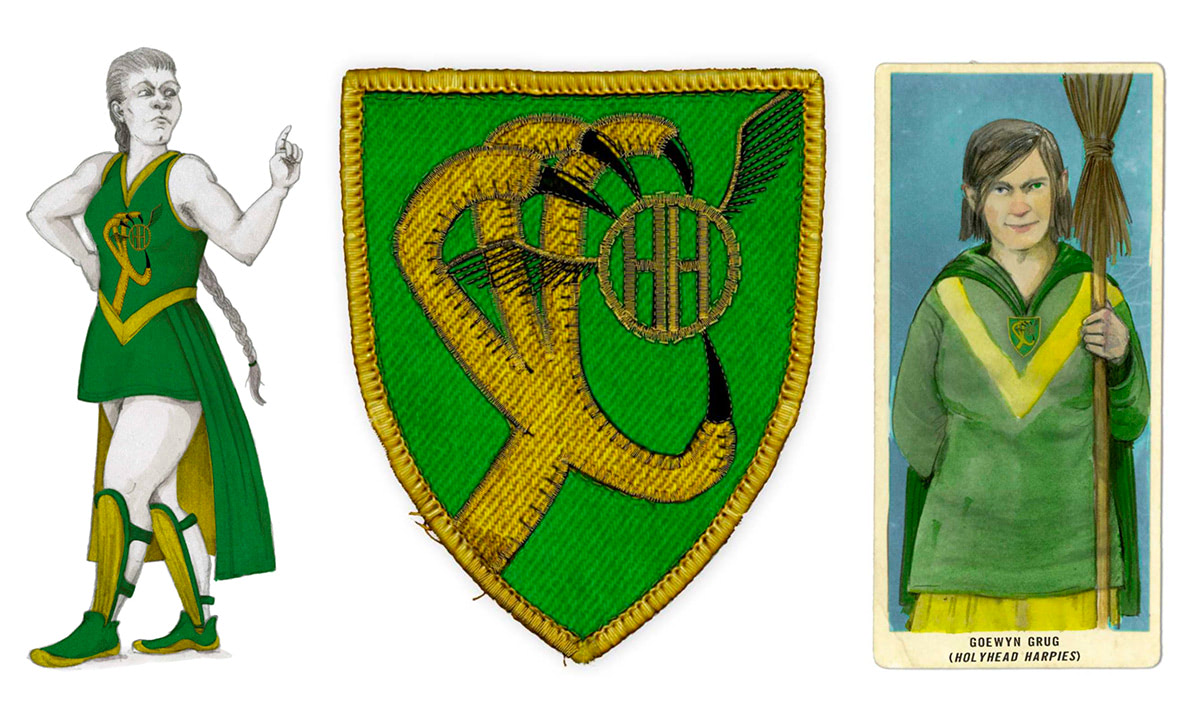
Image result for holyhead harpies
HH illustrations by Emily Gravett from the upcoming illustrated edition of Quidditch Through the Ages

But then this fall, as my annual desire to make a Harpies uniform for Halloween re-emerged, I saw a string of Instagram posts by Emily of @sewingfrankly and Lauren of @thecosplayhistorian in which they wear adorable vintage Hogwarts uniforms and Yule Ball gowns. Which inspired me to think about vintage Holyhead Harpies--much more useful, and much more me!

yes, I am generally a ham, but the look of trepidation towards the quaffle is just naturally my face when a (sports)ball is involved.
I was even able to talk a friend into embarking on this silly project with me, so there were two of us! That's practically a team, right? Another friend happened to have a green and gold 1930s dress already, so she was dubbed our coach. I'm really pleased with the way these turned out, and running around the convention with a quaffle was a lot of fun.

suffice to say: shenanigans ensued.
 Unfortunately, hotel lighting is not the best for pictures...so someday (hopefully) soon we'll do an outdoor shoot and then I can share details of the full outfit. But for today, I wanted to share a bit about my construction process of making the jodhpurs. It was...not a great process.

bubble butt, 30s style
When we decided to do vintage uniforms, I was most inspired by images like this, this, and this of early 1930s women in jodhpurs and sweaters--so that's what I set out to make. I couldn't find many patterns for vintage jodhpurs floating around the internet, but Butterick makes one (B6433) currently marketed as ideal for 20s lady detectives.

image from the Butterick pattern site of B6433. Hmmm, doesn't that ensemble look familiar? ;)
 The best thing about commercial patterns is that they tend to go on sale...and since I was shopping over Thanksgiving, I snagged both this pattern and the Simplicity retro pattern we used for the sweater for a dollar or two each. And once they arrived, I set to work!


After tracing the pattern off of the tissue, I made a mockup of the jodhpurs (without pockets) to check the fit. I ended up adding an inch to the hips, as they were a little tight on me, but otherwise things seemed fine and I moved on to cutting out my fabric: a lightweight wool houndstooth from the stash. Then I started construction--which is about when things started to go wrong.

It's been a lot of years since I used a "big 4" pattern, and I wanted to make sure I didn't cut corners. So I dutifully followed the instructions...or tried to. It turns out, the instructions were either not proofread, or everyone who tried them out ignored some bits, or they were all on a brain wavelength I was not accessing. Seriously, there were multiple steps where I either couldn't figure out what the instructions wanted at all, or after I did what the pattern described I realized that what was described was exactly backwards and I needed to do it again. UGH.

In an effort to understand what was happening, I spent a lot of time looking online for other people who had made this pattern and might have some advice to share. I couldn't find much, so I wanted to include as much detail as possible for the next person who gives this a try. (And on the flip side, if you've made this and know what I did wrong I'm happy to learn from the comments!)

So here we go!

Problem #1: The leg facing instructions end up with the wrong side out
I don't actually have a good solution to this, besides just sewing it in the other way. Each side of the ankle opening has a different facing: the self-facing and the facing.  On the self-facing side, the self-facing is basically an extra bit that is cut out as part of the pant leg, and should end up sewn wrong side to wrong side with the pant leg, so that it looks like a normal facing. This one is easy, although I am unclear why it needed to be cut as part of the pant piece and couldn't just be a normal facing.
On the facing side, the facing piece should basically hang out from the edge of the opening like a placket. When I followed the instructions, this worked...except that the wrong side of the fabric faced out. But knowing what it was supposed to be, I just ignored the instructions and sewed it the other way.

completed (corrected) facing from the inside

on the outside, this functions as a placket and goes underneath the other half of the opening (I sewed snaps on after this)


Problem #2: The front extension is never explained
After sitting with my friend and failing to figure out what the "front extension" was, I eventually was reduced to scream-crying in the kitchen while Mr. Plaid* attempted to make sense of it (no, he doesn't know anything about sewing). Eventually I thought I had it figured out--and then either I was wrong, or something about the pattern just doesn't work. Here's the pattern instruction for this step/this piece:

Notice how the extension is never shown in context of the rest of the garment? Yeah. That would have made this a lot easier! Basically where I landed is that the extension is sort of the waistband piece for the top of the back of the pocket. After attached the extension to the top of the pocket, the raw edge of the piece ends up inside the back facing when you turn under the edge of that piece and stitch it down. Unfortunately I didn't take pictures while I was doing this, but here's the piece in its final position (inside and outside). Again, this wasn't hard once I figured out what the instructions wanted me to do!

the front extension (with button hole and button) from the outside

and from the inside--notice the back waistband is folded over the raw edge of the extension before being sewn down

Problem #3: The dots don't work
The final step of construction is to sew the outside seams of the legs together from just below the knee (i.e., the top of the ankle opening) to mid-hip (i.e., the bottom of the waist opening). The pattern instructions say to match the dots on the pattern pieces and sew in between them. Except when I did this, I ended up with a front and back that were about an inch off from each other.

that super sexy pointy hip situation is a result of the fronts being longer than the backs

here's the difference when the pants are laid flat
Once more, an easy fix once I knew the problem! I ripped out the seams and re-stitched, this time matching the waists and pockets rather than the dots. Full disclosure on this one: the bottoms are a little off, so this wasn't a perfect solution. But since I never plan to wear these without boots, I'm not going to worry about it. (I think if I did want to fully fix it, I would need to re-hem the pants, correcting for the length in the hem.)

Bonus round: the pockets are also the closures
This one isn't actually a problem with the pattern, it's just really silly. The jodhpurs close with a series of buttons (mine are brown vintage Bakelite in two sizes) up the hips and at the overlapped edges of the waistband. Since this is also the location of the pockets, the pockets basically only work as pockets when the jodhpurs are fully buttoned--as soon as you unbutton them, anything inside is wont to fall out. Why??? Maybe it's period? But it seems ridiculous.

So while these jodhpurs almost killed me to make, they came out really cute in the end. I have a lot of this fabric left, so someday I'll hopefully make a matching jacket for bicycling and other "tweed" outings. But in the meantime, I look forward to further adventures on the only all-witch professional quidditch team in the league!

courtesy of Nerd Caliber

Friday, December 14, 2018

2018 Year in Review

It's been quite the year!

Not that you could possibly know that, given how little I've blogged...oops. But it's the time of year in which we review our work and reflect on the year to come, so what better opportunity to renew blogging efforts?

This year has been eventful for me in the life-way, which is part of why I haven't been blogging. There's just been a lot going on! And honestly, not a lot of sewing. But I'm hoping that will change with the list of projects I have planned for 2019!

But before plans, the 2018 review...

January 
I got engaged!

March
I made a new silk 1860s ballgown and wore it to Returning Heroes, our annual costume-required ball
I clearly planned to blog about this...but never did

May

I attended the Bath Victorian Ball in a new dress, and I did actually manage to blog about it
Also: I graduated!

July

I partnered with Emily and the Vintage Express to put together a WWII display as part of the Strawberry Banke Museum American Lives event 

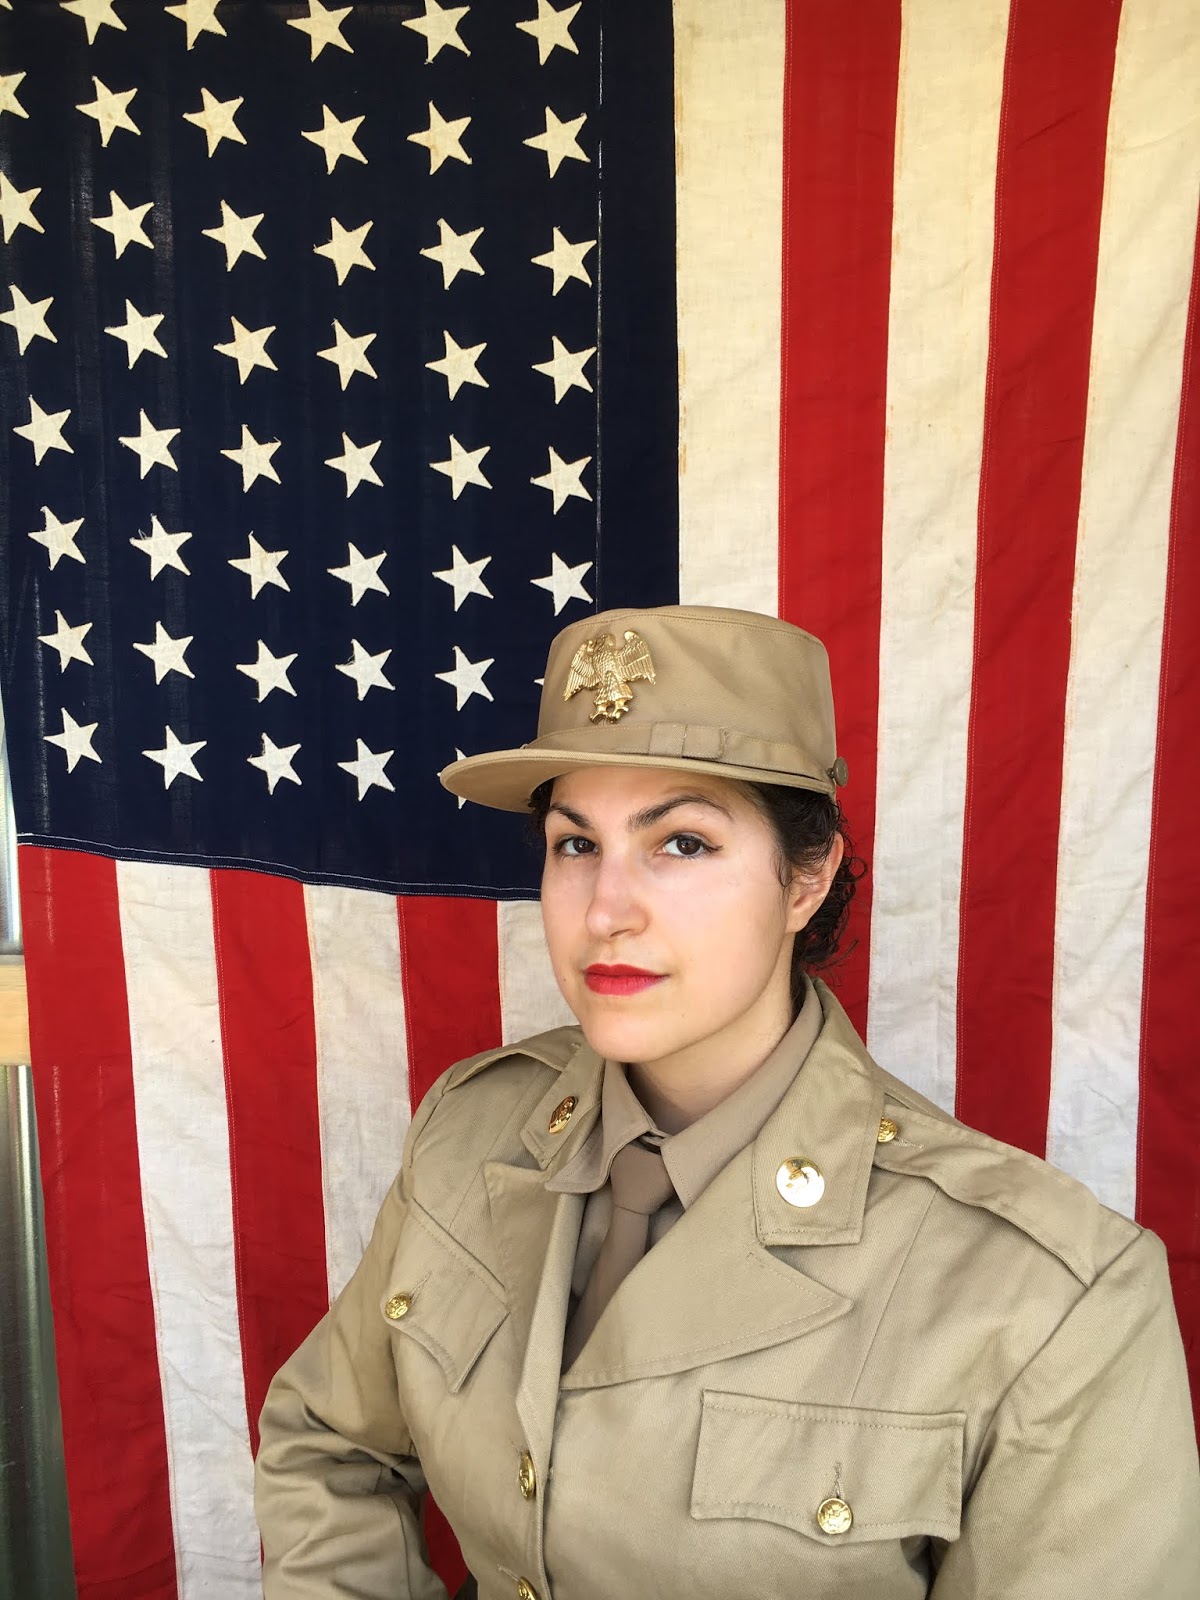
We demonstrated a variety of roles people played during the war, and Emily and I focused on women in the armed services. Here I am in my summer WAC uniform looking very warm...it was almost 100 degrees and super humid!

August

I took an adventure to Baker's Island, where intrepid adventuring friends and I mostly survived and entertained boats of tourists! 

I also revisited the Crane Estate for their Roaring 20s Lawn Party
and I did actually sew some things! I forgot. For Gatsby on the Isles I whipped up a quick and dirty 1920s bathing suit...


...and finished this pink striped summer dress I started a lot of years (and two apartments) ago. Whew!

September

Back to Hogwarts (and Knockturn Alley) on a weekend getaway!

October
Mostly October was just work (and work travel), but we also took engagement photos with our AMAZING AMAZING wedding photographers, so I am throwing one in here!

December

December means Fezziwig's Ball! This wasn't an exciting costuming event this time, but that's ok! Because it was a great year for friends both old and new. 

plaid brings people together ;) Hi Kenna!

I AM YOUR GHOST HOST--wait, wrong...hmm.

So that's it! Not much of a sewing year, but definitely A Year. Thank you so much to everyone who has said hello at events or left me notes on Instagram. I love that this hobby is full of such wonderful, nerdy,  interesting people. I hope your holiday season is full of good cheer!

And to round things off...I have set myself what I think is a reasonable list of 2019 projects. I feel pretty on top of wedding things right now, but that house of cards is sure to tumble at any moment. Right? right. So it goes. For posterity, here is what I hope to do (and blog about):

Early 1870s winter ensemble
Regency pelisse 
Tartan 1860s re-make 
Chemises and petticoats (because I realized my go-to 1860s chemise is from 2007...eek!)
Bonus Round: something new for Fezziwig's next year

I always try to set myself a goal in addition to projects I hope to accomplish. This year, my goal is accessories. Not necessarily making them, but at least spending the time to acquire them or alter things to be appropriate. Because accessories really do make the time travel magic happen, and I'm always happier with the dress I've made when it feels like a real ensemble. So let's see how I do with that!


COME AT ME 2019!

Thursday, January 5, 2017

A Note of Thanks

It is customary at the turn of the year to review sewing accomplishments and set goals for the upcoming year. This year, I'm not going to set any new goals because really, I just started following by 2015 goal to take my time and not skip steps of projects...and it's going well! So I'm going to work on keeping that up, rather than making new goals.

I'm also not going to do my standard month-by-month sewing review, because honestly, I didn't make that much this year. I made a few big projects well, and I'm happy with that. Instead, here is a review of my top five adventures!

5.
Gathering this fall for an 1860s weekend, I got to focus on my photography--it was a stressful Fall, but a fun interlude!

4.
The Boy came along for a summer 1920s adventure! He won't be making regular blog appearances, but sometimes it's fun to have him join me in the crazy for a bit :)

3.
I participated in the Historical Sew Monthly for the first time! I didn't actually blog about many of my entries, but it was a blast to be part of the HSM community and to see everyone's projects.

2.
My Starfleet crew is fierce, brilliant, and coming for you. I love that our crew grows every year!

1.
An adventure of palatial proportions (heh...sorry...) to Versailles--this isn't top of the list for its location, but because it was a chance to do something really insane with some of my favorite people. And to make new friends along the way!

I'm grateful for a year full of new and old friends, new and old places, and willing photography subjects. I started off 2017 with a meeting of awesome historically-minded women, and I hope that is the first of many! I hope all of you have things to make you feel optimistic about the coming year, even when the outlook is bleak. I look forward to sharing more adventures with you. Here's to a new year!


Wednesday, August 10, 2016

1920s Bathing Suit and Swim Boot Details

I'm excited to be heading off to the 1920s in a few weeks, so I've been doing a lot of 20s sewing to get ready! The first project on my list was re-doing my 1920s bathing suit and adding swim boots.

The suit was initially a quick and dirty project the day before an event, and is made from a pair of stretchy athletic pants and a knit dress (both black). It was perfectly serviceable, and I'm glad I had it (it would have been sad to miss the swimming!), but I had really wanted it to be improved before I wore it again. I originally wore it with black ballet flats as makeshift swim shoes, as little bathing slippers were popular during the early 20th century and the rocky terrain especially called for them. 

bathing suit and slippers last summer
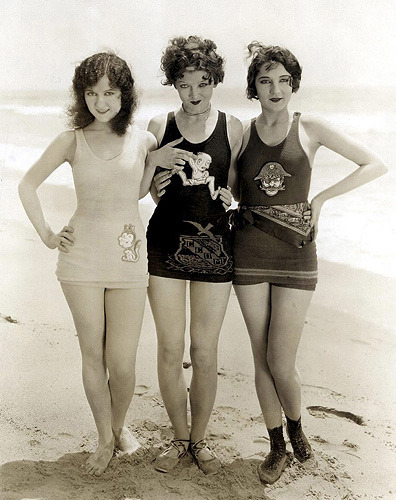
actresses on the beach, 1926--Myrna Loy, center, is wearing bathing slippers
The shoes were falling apart when I used them, and they didn't survive the excursion, so I decided after that that I really wanted to make new bathing slippers for this year. I mentioned this to my friend Quinn, and she was kind enough to pass my desire along to Gina of Beauty From Ashes, and Gina shared the pattern she drafted for bathing boots from an original pair. Thank you, Gina! This was incredibly generous and I am so grateful! 

Quinn has posted about her bathing boots already, and she was good and took lots of in-progress shots. I was not! So I recommend popping over to check out her interesting research and images. I do have some inspiration images to share though!

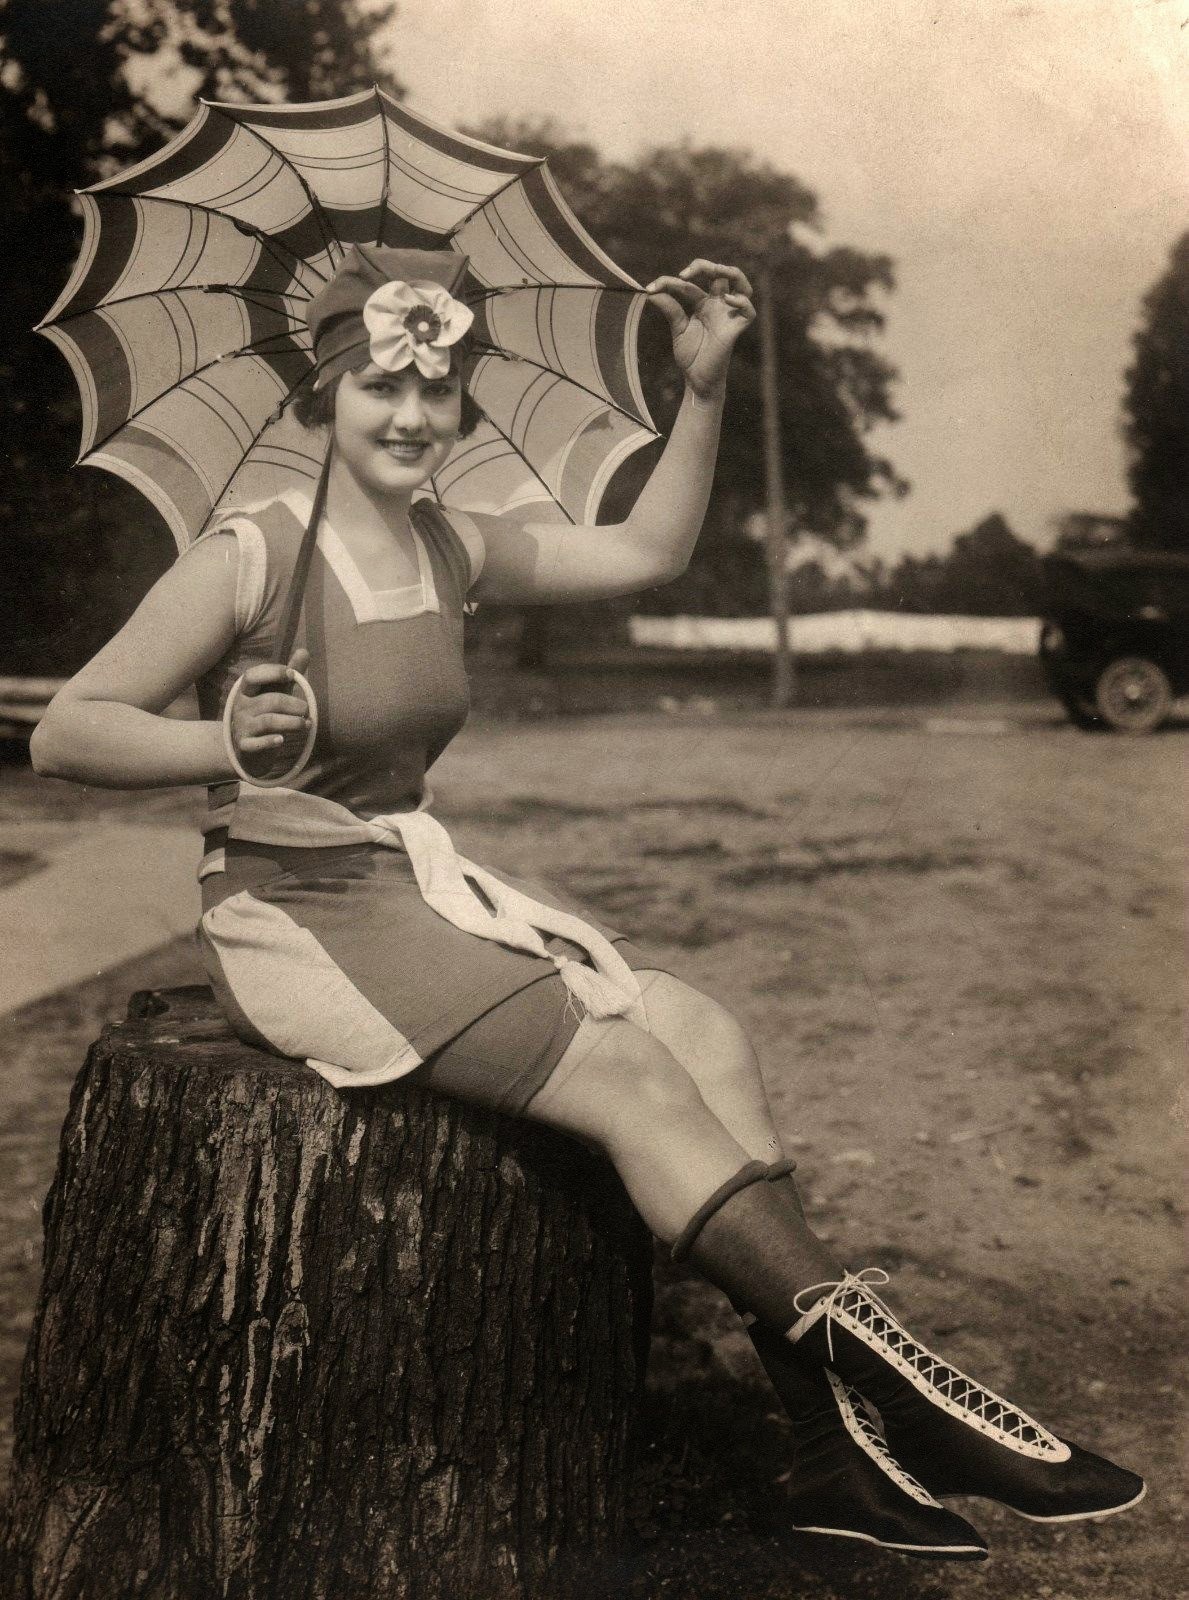
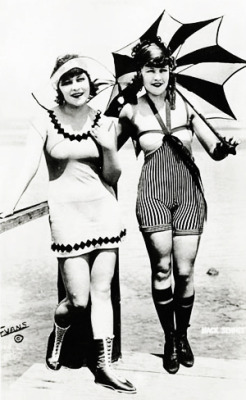
Ohio, 1920s
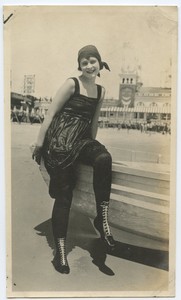
Atlantic City, NJ, c.1920
1920-1930
souvenir postcard of movie actress Phyllis Haver on the beach
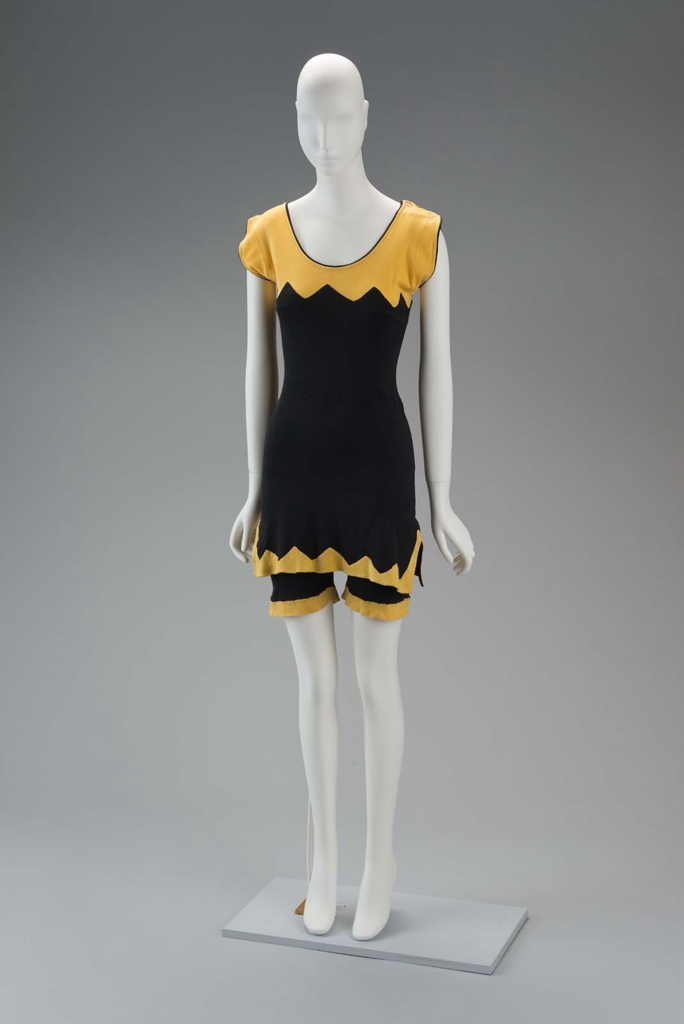
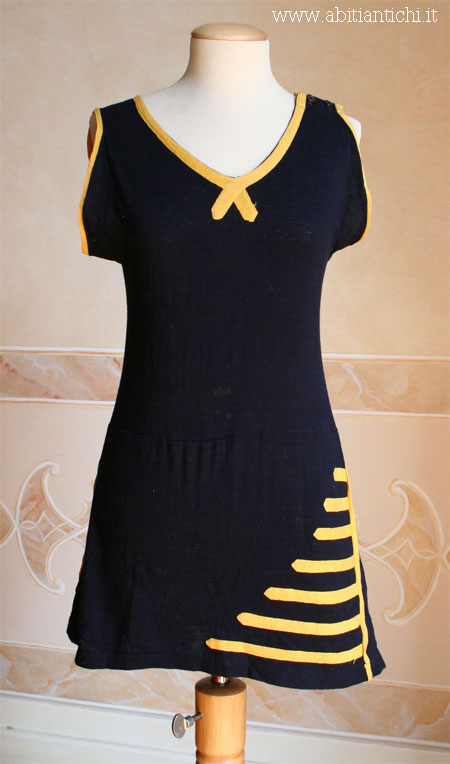
I'd already fallen in love with several yellow and black bathing suits, so I knew I wanted to go for yellow trim with my existing black suit. I purchased yellow and black cotton canvas online for my swim boots, and used the extra yellow canvas to trim the neck of my bathing suit dress and add stripes to the skirt and shorts. 

bathing suit (with matching cape!), 1920s (MFA)
knit suit, 1920s (via)
I decided to go with diagonal stripes because I thought they looked particularly sporty, and I'm quite pleased with the finished suit!

at the beach!
 Starting with modern clothing was a sneaky cheat to make this an easy, cheap project. Plus, it's very sturdy and machine washable, which is handy when dealing with sand and saltwater.


admiring art at the Nantasket Beach DCR building, which was originally built in the 1910s
Gina's boots patter went together easily, although our use of thicker cork for the soles meant that there was a lot of hand sewing. It worked out in the end, though, as the boots are very sturdy and help up well through beach adventures. I'm excited to wear them again! 
boot selfie?
Girls in boots and barefoot in the waves
 There are only two minor problems with this bathing ensemble: the stripe on the bottom of the shorts is a different color yellow, and my boots are too big. The alternate yellow is left over from the earlier iteration of the suit, but I didn't want to replace it with canvas because I was worried the less stretchy canvas wouldn't be able to handle my thighs. I've done too many squats to be contained! ha. The boot size issue is a little more confusing, but I think it's from a combination of tracing the pattern onto each piece (and thus getting a little larger each time between cutting and tracing) and my paranoia about ending up with too-small boots. I overshot! Oh, well. They look a little silly and duck-footy on land, but they're great paddles in the water.


 Overall, I'm incredibly pleased with this, and so excited to wear it again! I love the beach in any period, so it's a treat to be able to swim and wear silly clothes at the same time.

I am a ham in every period