Showing posts with label baking. Show all posts

Saturday, March 20, 2021

The Great Pickled Limes Picnic of 2020

 Well then.


I've gotten a few comments recently asking how my pickled limes experiment ended, and I did make sure to carefully document results! But between *waves hands* the world and computer issues my inclination to write about pickled limes on the internet took a bit of a hit. And things on the world front haven't really improved, but my computer issues have been resolved! So no promises I'll post with any frequency, but I think I can promise I will post at least sporadically.

Anyways, on to the main event: how did the pickled limes turn out?

a white porcelain plate with blue floral decoration. Quartered chunks of brined limes are piled on top of it.

When I envisioned opening the limes and trying them out, I had grand visions of discovering a long-forgotten delightful snack...


via GIPHY


But I am sorry to say that they ended up aligning more with the historical sources deriding them as an "acquired taste" only adopted by Bostonians.


via GIPHY


That is overreacting slightly - they weren't all terrible. And there were still some decided differences in how they tasted! Science is cool, guys.

To help with the tasting portion of this project* I had the help of an esteemed panel of judges. We wore masks except while actually tasting, and stayed outside with ample space between our picnic blankets. Luckily we had a truly fantastic early October, so the weather was worth enjoying!

Let's dive in:

Our Least Favorite: Plain Brined


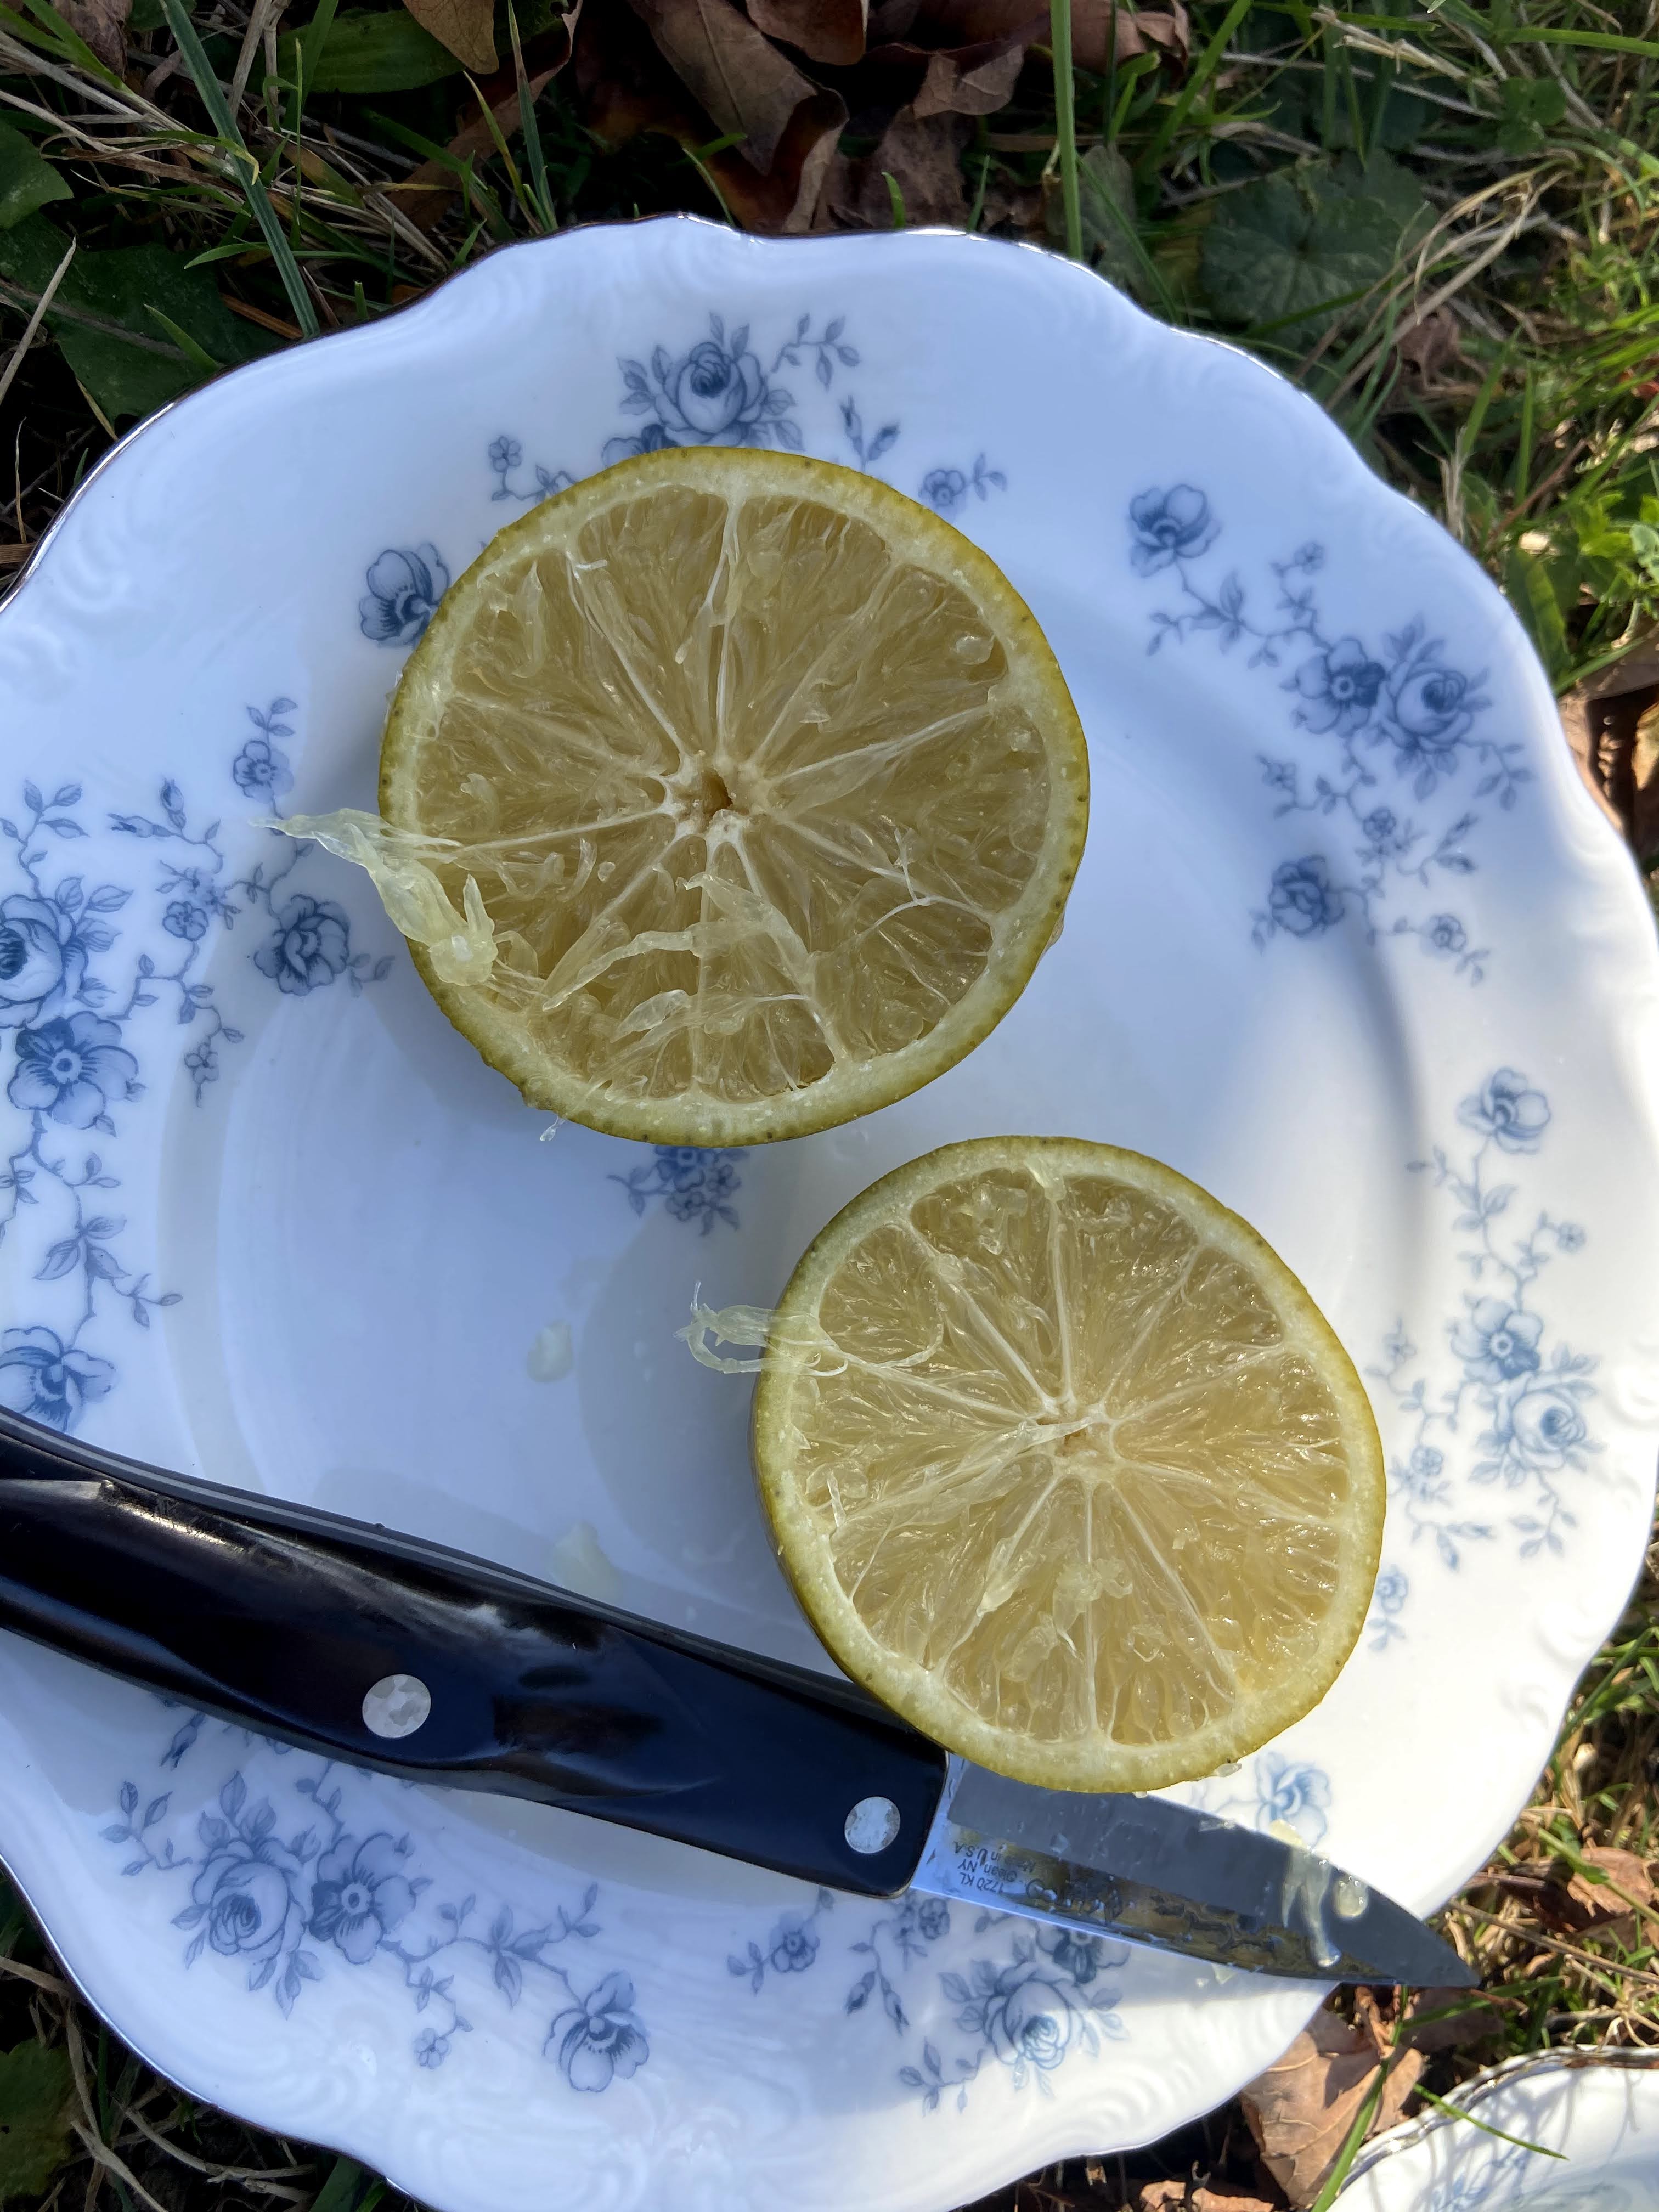
a single lime cut in half on a white and blue plate

The plain brined limes surprisingly didn't smell like salt! They smelled...sort of floral?

From the panel:

"It smells like the toilet bowls in the Old Town Hall"

"It smells like 1950s chemical cleaner"


The taste was more salty, as I would expect given they'd been brined in salt water. I was expecting salt and sourness, but it actually wasn't sour at all. It tasted salty and organic - a little floral and musky.

The panel was more positive than I was, actually:

"I'm not hating it."

"Once you get past the initial salty awfulness it's ok"

"It has a musky floralness"


Runner Up: Spiced Vinegar

close up of a lime cut in half on a blue and white plate. the lime is slightly browner than the last batch.

This was my favorite of the bunch, because the punch of the vinegar overpowered everything else. I like vinegar! I do think if I ever tried this again I would use more spices though.

The panel was more mixed:

"That one hits you hard"

"I don't taste any lime whatsoever"

"No toilet here!"

"The peel is pretty nice"


The Winner: Sweet Vinegar

a lime cut in half, a bit desiccated-looking, on the same white and blue plate

3 slices of desiccated lime on the white and blue plate

I expected to like this one the best but in the end I think I liked it without the sugar. 

This one got the panel's vote though:

"This one is actually quite good"

"It's different, I don't know that I like it?"

"It's not bad!"


a hand pinching a quarter lime slice in the foreground with a picnic basket and jars of limes in the background

So there you have it! I am calling this a successful experiment, because now I have tried them. Would I make them again? Probably the sweet vinegar batch, with more spices. And I'd probably serve them with something. I used the same recipe (originally from an 1869 fruit pickling book) that I used for the sweet vinegar limes to pickle peaches over the summer, and those were delicious! Especially with manchego cheese and crusty bread.

When limes are next in season, I may try again with slightly different ratios (and try a batch where I pickle them in vinegar right away, instead of brining them first). But we'll see - for now, I think my appetite for pickled limes is satiated.

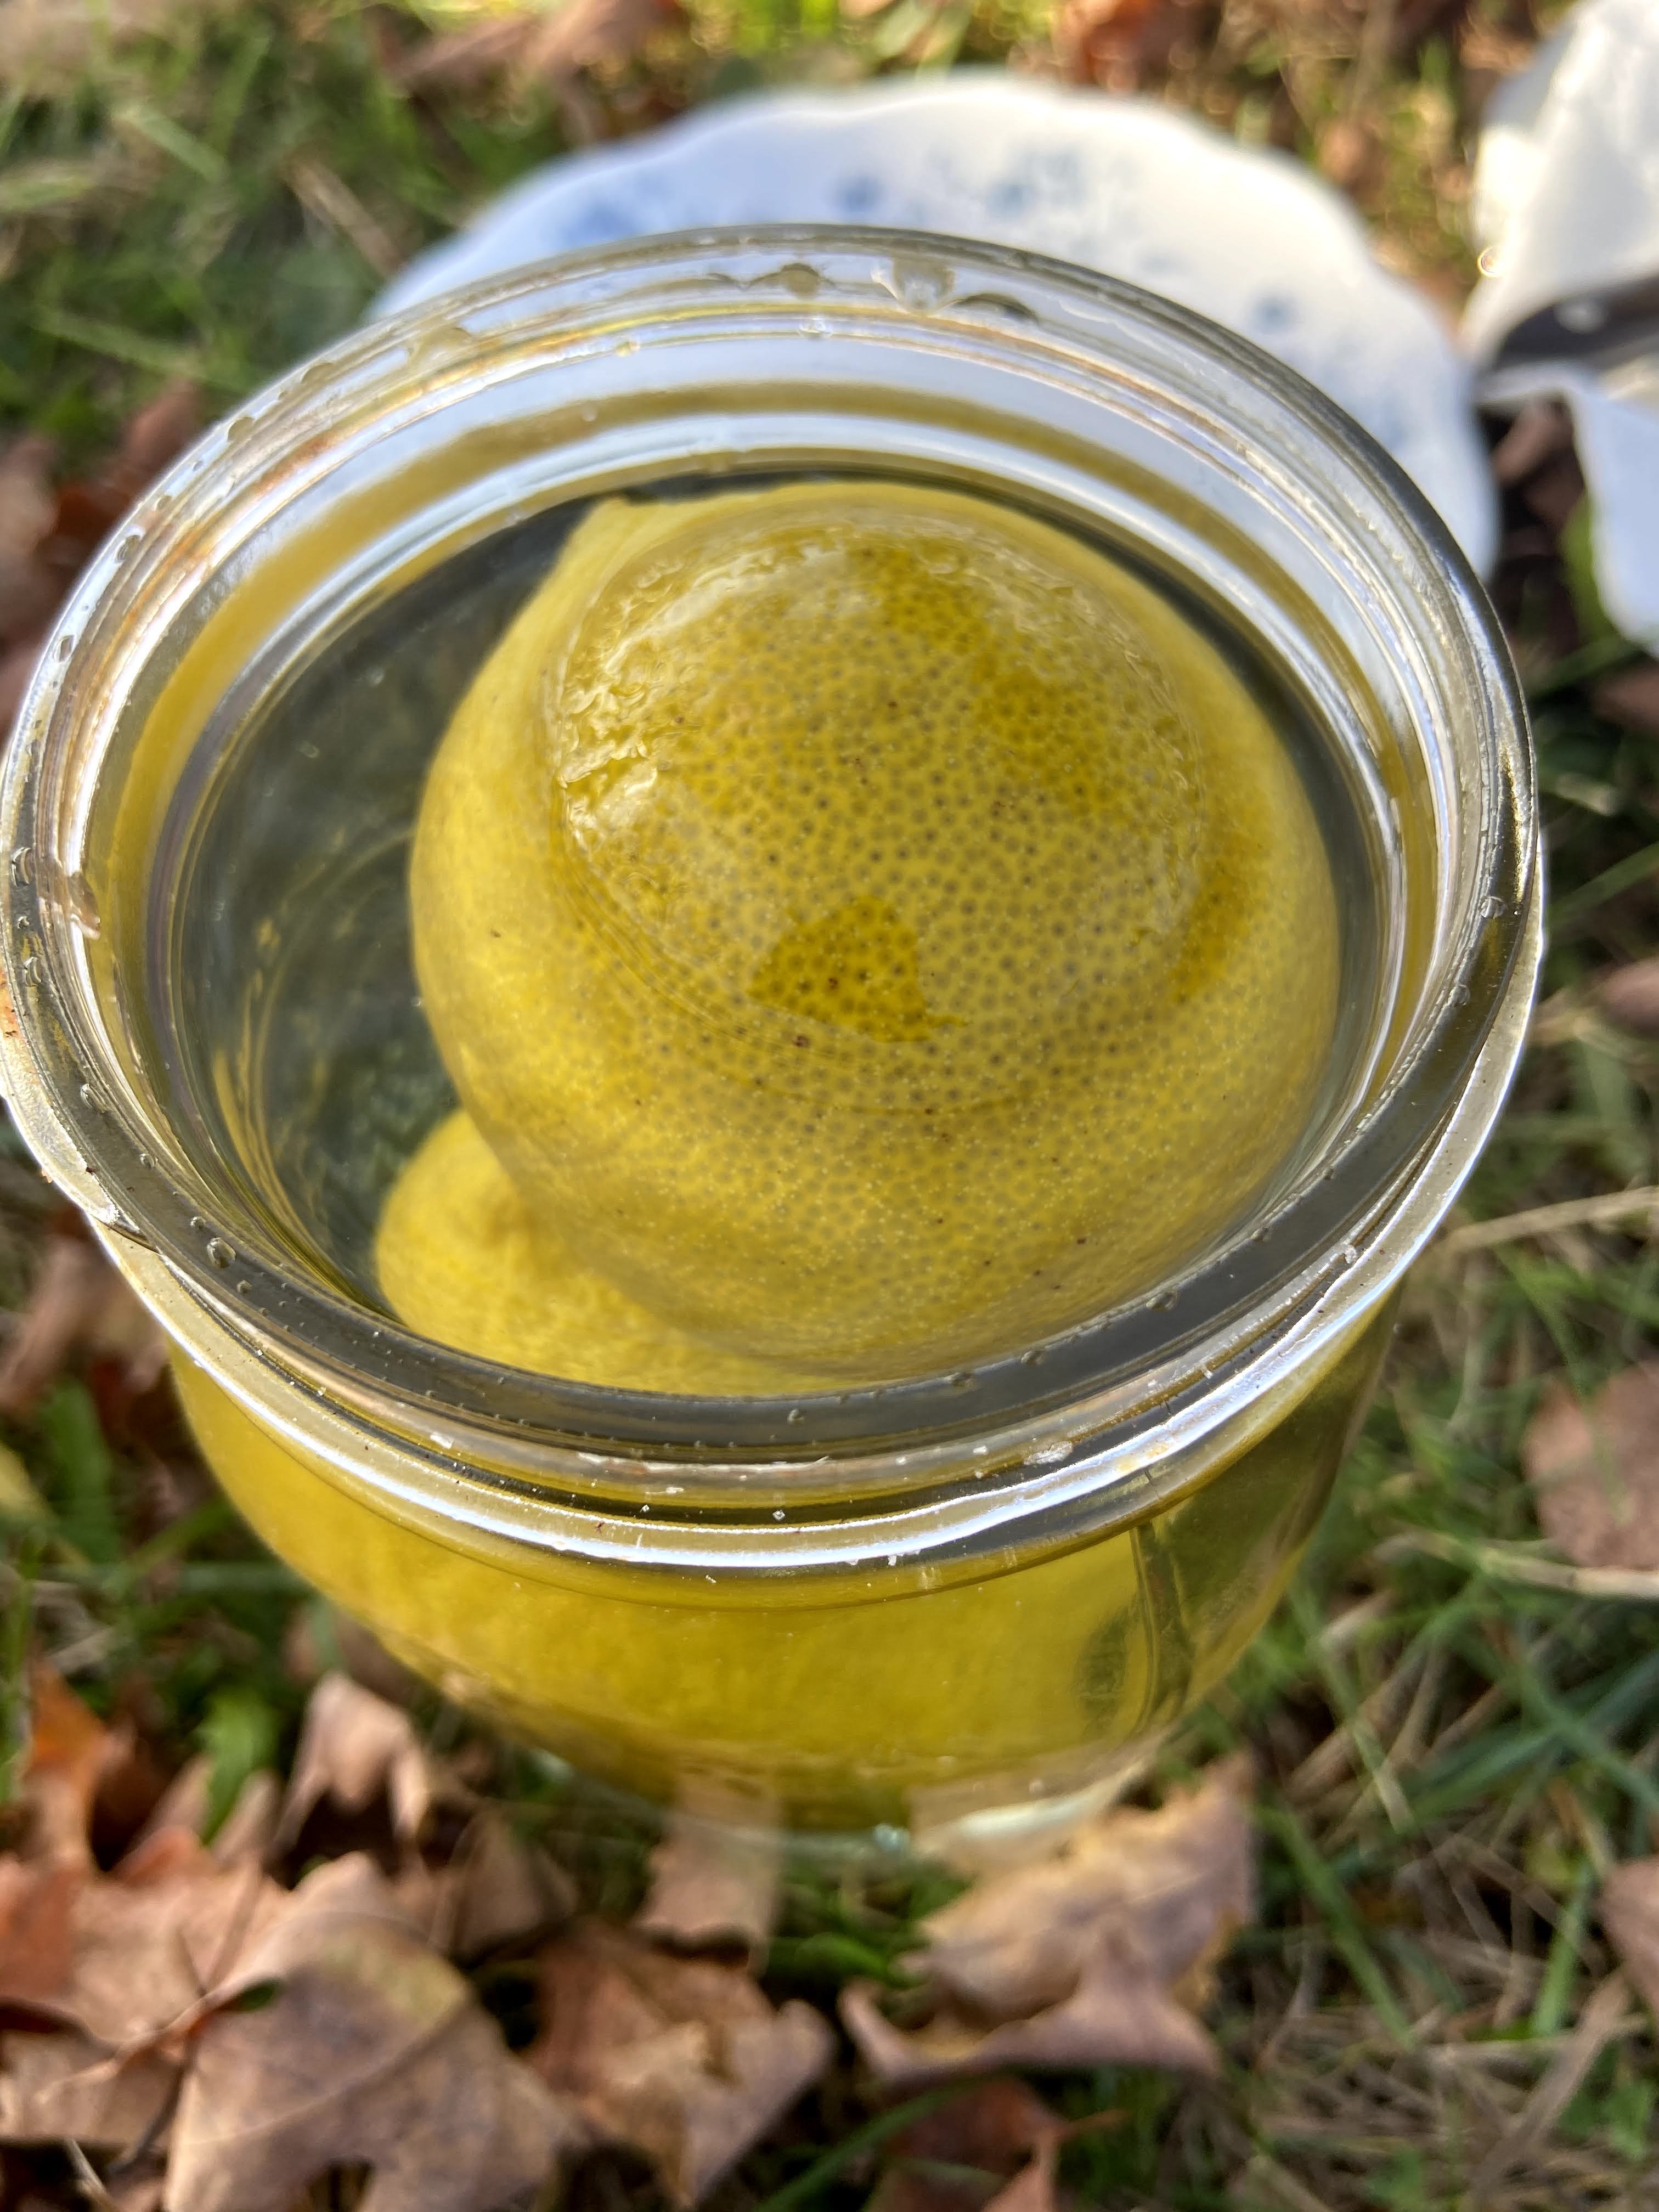
top-down view of an open jar in the grass with 2 limes floating in salted water

*Note: the salt-packed limes didn't make it to tasting. I ended up with something growing in there and it wasn't worth giving my friends botulism in the middle of a pandemic :(

Wednesday, December 30, 2015

Votes for...Marshmallow Teacakes?

This post goes back a bit to our suffrage tea in September, but it's baking-related, so if you feel like adding a 1915 twist to your holiday baking, it still applies!

For the suffrage tea I made a recipe from Suffrage Cookbook, published in 1915 by the Equal Franchise Federation of Western Pennsylvania, called "marshmallow teacakes." This recipe intrigued me for a few reasons: first, it's from a suffrage cookbook, but it also uses some spiffy new popular tech from the 1910s--prepared foods.
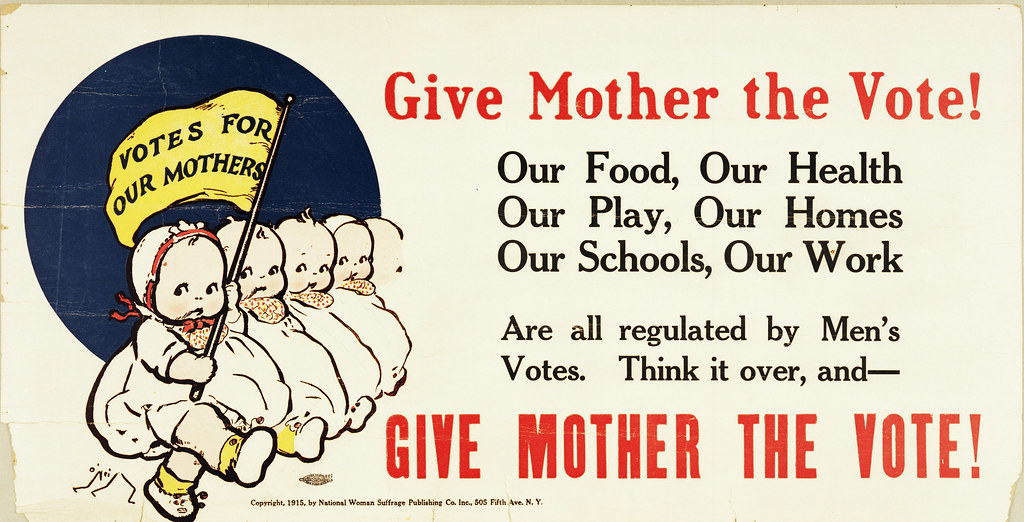
a domestically-focused suffrage poster, 1915
Suffrage cookbooks were produced throughout the United States from the 19th century through the 1910s to raise funds, share ideas, and promote community within the suffrage movement. Cookbooks also helped strengthen the idea that women were masters of the domestic sphere, and therefore deserved the vote to be able to participate in politics (which affect domestic life) while countering the depiction of voting women as neglectful of traditional female tasks (like cooking). Diverse contributions to such cookbooks promoted varied representation for women from all walks of life fighting for the right to vote--as well as gave them a chance to network and advertise for their cause.

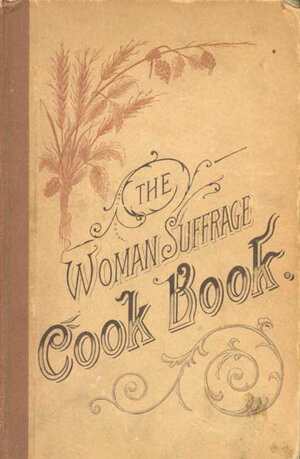
Cover of the first suffrage cookbook, 1886
In addition to supporting the image of voting women as still domestic and providing a perfect fundraiser, suffrage cookbooks also provided an avenue for exchange--leading to possibly my favorite parts of the cookbooks. First, each book lists its contributors. To modern eyes these lists range from a "who's who" of the suffrage movement (the book pictured above features contributions from Lucy Stone and Alice Stone Blackwell, for example) to complete unknowns. Cookbooks were an equalizing platform--women who wouldn't get up and give great speeches at a rally could still show their support by submitting a recipe. Second, women (and a few men) didn't stop at recipes; they also submitted useful remedies, inspiring quotes, and satirical pieces. The 1886 Woman Suffrage Cookbook published in Boston includes a section called "Eminent Opinions on Woman Suffrage" along with sections on cakes, sauces, and meat preparation.
My recipe comes from a more contemporary cookbook for 1915, our year of choice for the September rally (it's really been less than 100 years since women could vote). In addition to popular recipes for the early 20th century, it includes two truly fabulous satirical pieces: "Pie for a Suffragist's Doubting Husband" and "Anti's Favorite Hash." To give you a taste (pun intended...) here's the latter:

"Anti's Favorite Hash
(Unless you wear dark glasses you cannot make a success of Anti's Favorite Hash.)
1 lb. truth thoroughly mangled
1 generous handful of injustice.
(Sprinkle over everything in the pan)
1 tumbler acetic acid (well shaken)
A little vitriol will add a delightful tang and a string of nonsense should be dropped in at the last as if by accident.
Stir all together with a sharp knife because some of the tid bits will be tough propositions."
cover of the 1915 cookbook
I think this really captures what I think is so interesting about these cookbooks. On the surface, they were in both in keeping with the common message (that women's domesticity was exactly why they should have the vote) and counter to the "anti" side (that voting would stop women from completing their household duties)...but underneath they were a tool for organizing, for sharing words of encouragement, for venting frustration, and for furthering their political aims. Suffrage cookbooks were more than domestic fundraisers--they were a political act.

Which brings us to the recipe I chose. Here's the recipe from the book (which you can check out in full over at Project Gutenberg):

"Marshmallow Teas
Arrange marshmallows on thin, unsweetened round crackers. Make a deep impression in center of each marshmallow, and in each cavity drop ¼ teaspoon butter. Bake until marshmallows spread and nearly cover crackers. After removing from oven insert half a candied cherry in each cavity.
These are excellent with afternoon tea."
tin for Blue Bird Marshmallows, early 1900s
Marshmallows were widely available as tinned treats in the early 1900s, and by 1915 were made using a very similar recipe to that used today (which uses gelatin for a more "stable" product). In fact, there was a local marshmallow and marshmallow creme factory in Melrose, which opened in 1913. The factory was run by Amory and Emma Curtis, a savvy brother/sister team. Emma was a businesswoman, with knack for marketing--she cultivated the image of herself as a kindly older lady with a gray bun, and became the face of "Miss Curtis' Marshmallow Creme." In 1915 the Curtis Marshmallow Company displayed at the Panama Pacific Exposition, where their marshmallow creme won a gold medal. The booth was staffed by women with gray buns--Emma Curtis's brand. So marshmallows are particularly apt for a Boston suffrage tea!

a coupon for "Melrose Marshmallows" from the Melrose Historical Society
 Similarly, candied cherries were also available for purchase in the 1910s. There isn't nearly as much information about their origin as a mass-produced item, but I found several patents for candied cherries from the period (such as this one for Fort Snelling products in 1915), so I feel comfortable saying it's quite possible a modern woman might have had them on hand. Not to mention they were quite the popular ingredient in 1915--everything from peach custard to Christmas cake to plain in a bowl--so the teacake recipe is a perfect period bite. I particularly like this description of candied cherries from the Ohio Farmer: "No decoration for cake or other confection is more vivid that preserved and candied cherries."

sheet music for the Candied Cherries Two-Step, 1911 (via)
So with the three main ingredients picked up at the grocer, it would be easy to whip up some marshmallow teacakes after a day of picketing, singing, and speechifying for woman's right to vote!

marshmallow teacakes at center front, at or suffrage rally and tea
 To make the marshmallow teacakes as instructed in Suffrage Cookbook, I started with store-bought marshmallows and "old fashioned" tea biscuits. The original recipe calls for unsweetened crackers, but I couldn't find anything unsalted that went acceptably with marshmallows. After some experimenting, the basically-unsweetened tea biscuits were easily the best choice, not adding unneeded sweetness and solid enough to support the marshmallow during and after baking.

Next, I needed candied cherries...but I couldn't find any! It turns out most stores only sell them around Christmas, and trying to find them in September was a lost cause...so I had to cheat and make my own. They're not nearly as vibrant or well-shaped as manufactured ones, but they tasted just fine. (I picked up a bunch at the store for next time, but you can also order them online if you give yourself time.)

To be honest, these were a little too sweet for me, but they went over better than I expected at the tea (I mean, they're basically just marshmallows and cookies so what's not to like?), and I was pleased to add something so perfect for the occasion. Here's my final recipe--it's a bit different than the original, but I think the spirit remains.

Marshmallow Teas, adapted from Suffrage Cookbook (1915):

standard-size marshmallows (on the small side is better than large)
tea biscuits (I used Nabisco Social Teas, but round* Rich Tea biscuits would be even better!)
candied cherries

Preheat oven to 200F.
With a small knife, hash one long side of each marshmallow so that the powdered coating is broken up, and the sticky inside can meet the biscuit, and make one hole in the opposite side (I cut a small "+"). Place each marshmallow on a tea biscuit, hashed side down. Bake for 2-3 minutes, or until marshmallow softens and begins to melt, attaching to the biscuit below. While marshmallows are still soft, place a candied cherry into the hole on the top side. Cool completely.

So easy you can do it and still have time to march!

they're not the prettiest...but they tasted good!
*if using round biscuits: eliminate the hashing, and cut the marshmallow in half the short way. Place the cut end of the marshmallow on the biscuit.

For more on suffrage cookbooks or Miss Curtis' Marshmallow Creme:
The Melrose Historical Society
"The Trojan Horse of Women Suffrage," Rare Books Digest
"How Suffragists Used Cookbooks as a Recipe for Subversion," NPR
"Hiding Spinach in the Brownies," Social Movement Studies
A list of suffrage cookbooks at the Old Girl Network
and weird but also related:
Somerville's Fluff Festival, honoring the invention of Marshmallow Fluff (but they don't mention the Curtises)

Enjoy!


Wednesday, August 12, 2015

Whirlwind Season

Well, I blinked and it turned into mid-August! I'm not totally sure where the summer went, except to a whole lot of really fun adventures and just as many business trips. It's been insane, but pretty awesome!

I haven't had much time to sew with all the work, but I've been making time for some other things. We've had a few parties in the new apartment (all with a 1960s vibe), including a pretty fabulous tropical party based on America's obsession with the South Pacific in the 50s and 60s. I had some pretty fabulous inspiration for that, since my dad was born in Hawaii during that time and all of his baby photos are full of beaches and palm trees!

my grandparents, great grandmother, and father (the baby) in Hawaii
I found a watteau-back dress with bright printed flowers that has a "made in Hawaii" tag inside, which I wore with totally ridiculous beehive hair because my hair is really good at being huge. I will definitely be incorporating this dress into my summer formal wardobe--it is so much fun to wear!

(sorry for the fuzzy photos...this has not been a summer for the camera, and I've almost entirely been shooting on my phone)

giant hair, vibrant colors, and a Blue Hawaiian!

the watteau back
My partner in crime ran the bar, with some super delicious Blue Hawaiians and Mai Tais. I did food, and used two vintage recipes to which I made a couple of alterations.
The first was called "Bride to Be Coffee Cake," from Betty Crocker's Bisquick Cookbook.

my "Blue Hawaiian to Be" cake
 The Bride to Be coffee cake is a lesson in marriage preparedness. "Before your college coed gets married, teach her how to turn out a beautiful coffee cake in a hurry. Here's a scrumptious example that tastes something like pineapple upside-down cake. Perfect for a weekend brunch with her prospective in-law's." 
It calls for "Bisquick baking mix," and then the batter is topped with pineapple cooked in brown sugar and shredded coconut. We didn't have any Bisquick, and so I decided to use cake mix instead. Using a mix felt super period to me, because I always bake from scratch! I ended up using a blue mix, because it was on sale, and the combination of pineapple and coconut was just like the Blue Hawaiian cocktail. It was pretty delicious, but that pineapple topping is super sweet--I don't think I'd serve it for brunch... perfect for post-pool snacking, though!

The crowning glory of my 60s tropical food was a cheese pineapple. 

Yes, you read that right--a pineapple made. out. of. cheese.

cheese pineapple!

Possibly even weirder than the fact that this exists is that it's not alone--magazines have recommended shaping other foods into pineapples more than once. But I think cheese might be my limit--I'm not planning to make a liver sausage pineapple anytime soon. That said, the cheese pineapple was actually totally palatable.

I found the inspiration image (from McCall's Cooking School) on Pinterest, but then had to do some sleuthing to actually find the recipe. I ended up halving it and replacing the original pimento-stuffed olives with sliced almonds, which I thought worked out well. My recipe ended up as:

8oz cream cheese, softened
1 lb shredded sharp cheddar cheese
1/2 cup French's mustard (this is where the yellow color comes from)

Whip the ingredients until the spread consistency is smooth and fluffy, then fold into a ball, cover in plastic, and refrigerate. When cooled, shape into a pineapple. Refrigerate again, decorate, and serve!

Live the original, I also used a real pineapple top on my cheesy imposter.

the original
I would definitely make both of these again!

the cheese pineapple being consumed

 It's been a busy summer, but also a lot of fun. I'm excited to share it with you now that I'm back and blogging!


Wednesday, December 31, 2014

The Pudding Acheivement

For the last couple of years, my contributions to the Fezziwig's Ball refreshments table has been figgy pudding. Fezziwig's Christmas party is described in A Christmas Carol:

"There were more dances, and there were forfeits, and more dances, and there was cake, and there was negus, and there was a great piece of Cold Roast, and there was a great piece of Cold Boiled, and there were mince-pies, and plenty of beer. But the great effect of the evening came after the Roast and Boiled, when the fiddler (an artful dog, mind! The sort of man who knew his business better than you or I could have told it him!) struck up “Sir Roger de Coverley.” Then old Fezziwig stood out to dance with Mrs. Fezziwig. Top couple, too; with a good stiff piece of work cut out for them; three or four and twenty pair of partners; people who were not to be trifled with; people who would dance, and had no notion of walking."

Figgy pudding only plays a tangential role in the festivities, but it is central to the celebration at Bob Cratchit's house. As Scrooge observes,

"In half a minute Mrs. Cratchit entered—flushed, but smiling proudly—with the pudding, like a speckled cannon-ball, so hard and firm, blazing in half of half-a-quartern of ignited brandy, and bedight with Christmas holly stuck into the top."

And of course, figgy pudding is the dessert called for in the carol "We Wish You a Merry Christmas." We sing carols before the ball (including this one), so it seemed doubly appropriate to have some on offer. It also turns out figgy pudding is pretty delicious!


Yum!
Mentions of figgy pudding (also known as plum pudding, among other names, which is how it appears in A Christmas Carol) have appeared since the 15th century. It was especially popular in America during the 19th century. Dozens of recipes and interpretations were published in magazines and books throughout the century--I particularly love the article "Plum Pudding: A Christmas Essay" published in The National Magazine in 1857:

"But it is not as a work of art alone that I wish to contemplate a plum pudding. I claim for my theme a higher purpose than the mere gratification of the appetite and propose to treat it not only in a gastronomical, but also in national, commercial, geographical, statistical, social, and moral sense. ...Can there be a more thorough embodiment of sociality and good fellowship? Whoever heard of low spirits and plum pudding? or ill temper and plum pudding? or any thing else in connection with plum pudding but hearty goodwill and kind feeling?"

The pudding itself, topped with a sprig of holly, pine and berries I bought at JoAnn's a couple of years ago
 While it's full of dried fruit (not just figs!) held together by breadcrumbs and fat (suet, traditionally), figgy pudding ends up being fairly cakelike. As Mrs. Cratchit "had her doubts about the quantity of flour," this cakelike consistency is pretty accurate for the mid-19th century. The major difference between figgy pudding and desserts we're more used to is that figgy pudding is boiled. It's also traditionally set aflame (or rather, the pudding is covered in a hard sauce which burns off)--something I have yet to try. Instead, I serve our pudding with custard sauce, which is slightly less accurate but entirely delicious.


While it takes me most of a day to make the quadruple batch required for the ball, a single figgy pudding is easy to put together and offers a variety of serving options (although my favorite is a tiny piece of pudding drowned in a big bowl of custard sauce. I am definitely pro custard sauce). Although it's a little late for a Christmas pudding, here is my recipe! I've adapted it from this original (which is also where my custard sauce comes from), with changes to make it more period. The one modern concession I make is that I bake the pudding in a water bath rather than boil it. That way I can get multiples cooked at the same time, and it seems to work just fine. Someday I do need to boil and set one on fire though!

This recipe makes one figgy pudding, which I recommend baking in a bundt pan for ease. If you want the traditional round look, go for an oven-safe bowl (I use a 2-liter mixing bowl/pitcher like this one). 


Figgy Pudding

1lb dried mission figs (the black ones)
1/2lb pitted dried plums (not labeled as prunes, and a little moister)
3/4 c. whole milk
1/3 c. brandy*
3 eggs
1/2 c. butter (melted)
1 1/2 c. all-purpose flour
1 c. granulated sugar
2 tbs. baking powder
2 tsp. ground cinnamon*
1 tsp. allspice*
1/2 tsp. nutmeg*
1 tsp. salt
1 tbs. orange zest (if you're using fresh zest, you could also use lemon or a mix)
1 1/2 c. breadcrumbs
1 c. chopped walnuts

Preheat oven to 350F.
1. In a medium pot, combine chopped figs, plums, milk, orange zest, and brandy. Cook over medium-high heat until milk is bubbling but NOT boiling, then reduce temperature to medium/medium-low, cover, and simmer for 10 minutes. Cool to room temperature.
2. Combine melted butter and eggs (adding one at a time) in a large mixing bowl**. When combined, add breadcrumbs.
3. Add fruit/liquid mixture from the stove and stir until just combined.
[3a. Depending on how much liquid was absorbed by the fruit, the batter may be extremely dry. If needed, add extra milk in small increments alternating with dry ingredients so that final batter is a very thick, but still batter-like, consistency. Be careful not to make it too wet! If the flour is adding in just fine, don't add any extra milk.]
4. Add remaining dry ingredients.
5. Fold in nuts.

6. Pour batter into greased bundt pan or pudding mold. Place pan in a water bath so that the bottom 1/2-2/3 is submerged. 
7. Bake for approximately 1.5-2 hours. Begin checking after the first hour, as the shape of your baking device can change the baking time a lot. A knife should come out cleanly, even if the inside is still quite soft.
8. Let stand in pan for 15 minutes, then flip onto cooling rack. Cool completely before slicing to prevent crumbling.

*Feel free to add to taste. Caveat: if not measuring make sure to stay true to the proportions!
**I make this recipe by hand using a spatula to mix. 

Garnishing the pudding with holly
Enjoy! I ended up with a lot of leftover pudding from the ball, so I crumbled it up and threw it in a casserole dish to turn into bread pudding--pudding squared?--to give the leftovers some new life. The possibilities are endless!

So I will leave you with one last Dickens quote--a final possibility for figgy pudding: murder weapon.

"If I could work my will,” said Scrooge indignantly, “every idiot who goes about with ‘Merry Christmas’ on his lips, should be boiled with his own pudding, and buried with a stake of holly through his heart. He should!”


You can read more about figgy pudding here:
NPR's All Things Considered
The History Channel's Hungry History
The University of Maine's KHRONIKOS blog

Saturday, March 22, 2014

When Reconstructing History is Delicious

I've been thinking about food a lot lately.

illustrations from a 19th c. cookbook
This is probably because I have been travelling a lot, which makes me both acutely aware of how difficult it is to eat enough vegetables when I can't cook, and excited to explore regional cuisines (breakfast tacos in TX, for example). This is probably also because we just had Returning Heroes, and the Regency Weekend is less than a month away, so there has been a lot of discussion lately about refreshments.

Refreshments vary--some balls have big, lavish refreshments, while other balls are more casual--but when CVD aims for flashy food, it's just as much a chance to crack open some food history as it is to crack some eggs. Or 20 eggs. It happens.

Refreshments from the Pride and Prejudice Ball, February 2013

What we eat has changed a lot throughout history, developing to reflect availability of new ingredients, new technologies for cooking, local tastes, and the developing cultural palette. There will always be old recipes that sound sort of terrible to modern sensibilities, but there are TONS of really delicious-sounding recipes that can be explored for all sorts of entertaining, both intentionally historical (like balls) or modern (let's make syllabub the newest potluck sensation!).

The one problem with 19th century recipes is that the context in which they were written and/or published--the measurement systems, baking technology, etc.--is very different than modern expectations. Sometimes, even the "modern versions" of period recipes don't quite work. As I get ready to bake "Dolley Madison Cookies" for the Regency Weekend, I thought I'd share a little bit about the process of reconstructing recipes for a modern kitchen environment.

Here's an example of a sugar cookie recipe from slightly later than FLOTUS Dolley Madison's cookies, but with a very similar description:

"soft cookies," from The Practical Housekeeper and Young Woman's Friend published in 1855
I could probably get a kitchen scale (I used to use one when I was studying in Scotland), but I'm lazy and then I'd have to figure out pints and things, which I am unwilling to do. So I'd much rather modernize this!

There's an article about cookies in Austen's time on the Jane Austen Centre website, and that's where I stole this modernized recipe for Mrs. Madison's cookies from (based on the recipe just below it):

Sugar Cookies
2 cups butter
¾ cup milk
4 cups sugar
1 tsp baking soda
10 egg yolks, beaten
1 tsp cinnamon
10 egg whites, beaten
Flour to suit


To Make Sugar Cakes
Take 3 ale quarts of fine flowre, & put to it a pound of sugar, beaten & searced; 4 youlks of eggs, strayned thorugh a fine cloth with 12 or 13 spoonfulls of good thick cream; & 5 or 6 spoonfulls of rose water; A pound & a quaeter of butter, washt in rose water & broaken in cold, in bits. knead all these ingredients well together . after, let it ly A while, covered well, to rise. then roule them out & cut them with a glass, & put them on plates (a little buttered) in an oven gently heat. all these kinde of things are best when ye sugar & flower are dryed in an oven before you use ym.


The thing is, after making this recipe several times, one thing became clear: there was no way in hell I was going to be able to ever roll these cookies out. They were sticky, the edges always burned, and there was no way they looked nice enough to serve at a public event. Which is too bad, because they are so very perfect as a vessel for syllabub (a period recipe that is basically whipped cream with wine). So I set out to adjust.

Based on period descriptions, I knew these should be closer to a cakey consistency than a sugar cookie consistency--kind of like modern madeleines. With that in mind, I sought to fix the problems I was having with the proportions without actually changing the consistency of my final result, which seemed right. I also tried to figure out a way to make these happen in one bowl, which I failed at slightly, but oh well.

So here is my final result! If you decide to try making these, please let me know how you do...or you could come sample mine for yourself at the Regency Weekend this April.

Dolley Madison's Sugar Cookies for the Modern Baker

2 c. butter, softened
4 c. granulated sugar
1 tsp. baking soda
10 egg whites, beaten to peaks
10 egg yolks, scrambled with a fork
1 tsp. cinnamon
5 1/2 c. flour

Preheat oven to 375.
In the bowl of an electric mixer, beat egg whites until they reach medium peaks. (For me, this is slightly before I hit meringue territory, so that the whites appear soft but I can still tip the bowl upside-down and nothing falls out.) Gently transfer beaten whites to another bowl for safekeeping, and then add the butter and sugar to the electric mixer bowl. Cream the butter and sugar until light and fluffy. Add the egg yolks, cinnamon, and baking soda.
With the mixer on the lowest possible speed, begin to slowly start to add the whites back in. Once about half have been incorporated, just fold the rest in with a spatula. The goal is to mix as little as possible here.
Add the flour, about a cup at a time, mixing as slow as possible, as little as possible.

Once all of the flour has been thoroughly combined, spoon batter/dough (it should have a slightly in-between texture) in large tablespoons onto greased cookie sheets. Try to keep the blobs as spherical as possible, as this will make the cookies prettier and rounder after they are baked.
Bake for about 8 minutes, adjusting time as needed so that the cookies are baked through but not burnt on the edges.
Let cool in open air for about an hour before storing in your container of choice. Adding waxed paper between the layers also helps keep the cookies from sticking or getting damaged during transport.

Enjoy!


Friday, November 22, 2013

Inner Monologue: TGIF

Every now and then I have one of those days where I wind up feeling frustrated, tired, and unaccomplished. I got into the habit of using bling as a mood boost in college, and even though technically I"m an adult now I still do it. Last Friday I came home from work much later than expected feeling awful, only to discover my new tiara had arrived several days early!

So I did what I always do: I baked in my new tiara. So enjoy this lovely Friday (while I'm scrambling to finish sewing for tomorrow!), and this goofy picture of me...

Baking in Captain America sweatpants, a tiara, and pearls
Keep it classy!

Saturday, February 16, 2013

Snow Cowboys

I am hard-wired to bake when it snows. Last weekend, during our record-breaking storm, I wanted to do something new and fun. One flavor combination kept popping into my head: butterscotch and Bailey's. When I lived in Scotland we used to do shots called "cowboys," which were butterscotch liquor with Bailey's floated on top. They were delicious, and somehow in my head that turned into cupcakes.

cake batter, yum!
So off I went! By the end of the day I had also baked Texas Sheet Cake cupcakes by request, so it was overall a day full of very cold cowboys.

Left: Texas cupcakes, Right: cowboys
Finding a good butterscotch recipe was actually harder than I expected, so I ended up adapting several recipes to get what I wanted.  The result: Butterscotch cupcakes with Bailey's buttercream frosting and butterscotch sauce drizzle. My drizzling technique needs work, but even so--these little guys were delicious. Everyone in my family liked them, and they had a sweet nostalgia of Edinburgh in winter that was an extra treat.

Here are the recipes as I used them--follow the links for the originals. As I noted, none of these were purely created by me!

Butterscotch Cupcakes, from Martha Stewart's Butterscotch-Pecan Cake

(preheat oven to 325 degrees)


  • 3 3/4 cups all-purpose flour
  • 1 1/4 teaspoons baking powder
  • 3/4 teaspoon baking soda
  • 2 1/2 teaspoons salt
  • 2 1/2 sticks unsalted butter
  • 2 1/2 cups packed dark brown sugar
  • 4 eggs
  • 1 tablespoon plus 1 teaspoon vanilla
  • 1 1/4 teaspoons rum (preferably dark)
  • 1 1/4 cups buttermilk


Cream butter and sugar. Add eggs, vanilla, and rum. Alternate dry ingredients with buttermilk. Batter should be a fairly dense consistency (don't over-mix!). I like to scoop mine into cups with an ice cream scoop. Bake at 325 for about 20 minutes.

Bailey's Frosting, adapted from this fabulous frosting recipe from Cooking Classy

3 sticks butter
4 (with more if needed) cups powdered sugar
3 Tbs Bailey's Irish Cream
a splash of light cream

Butter until light and fluffy before adding other ingredients. Beat until preferred consistency--I go about 8 minutes.

Drizzle cupcakes with butterscotch sauce--I used this one from Smitten Kitchen

Yum!


Saturday, December 1, 2012

It's That Time of Year...

...when my weekends are booked solid with HOLIDAY MERRIMENT!

Today I went out to hang with my family and start some of our traditions--including baking a million cookies for the Winter Party at the Commandant's House tomorrow and sewing my stays for said event.  Hooray!  I'll have much more to share as the month progresses of December throughout the 19th century (or the modern version of it anyway), but tonight I am going to bang out these stays while watching White Christmas, which is one of my favorite movies.

Also, to start off right, it snowed today!  So here's a clip from White Christmas in honor of the great New England tradition.


Also, here are the cookies I'll be bringing to the party tomorrow!

They are Dolley Madison's sugar cookies, First Lady from 1801-18017.  They are quite cake-like in consistency, and the cinnamon is a nice change.  All in all, not what we expect in a sugar cookie but quite nice!

(Adapted from the Jane Austen Centre, Bath UK)

2c. butter
3/4 c. milk
4 c. sugar
10 eggs, separated and beaten (yolks to a custard color, whites "stiffly")
1 tsp. cinnamon
flour to suit

Preheat oven to 375 F.  Beat egg whites stiffly.  In a separate bowl, cream butter and sugar.  Add egg yolks and cinnamon.  Fold in beaten egg whites, then add milk.  Add flour about a cup at a time until the dough reaches a consistency where it will stay in lump up spooned onto the cookie sheet (or however firm you like).  Spoon (I use a melon baller) into 1/4-inch balls and back for 10 minutes.

One thing that always throws me off with this is that the cookies will not change color as they bake.  To make sure they are done, lightly tap the top.  They should be spongy but firm.

Enjoy, and Happy December!

Tuesday, June 5, 2012

Class of 1934

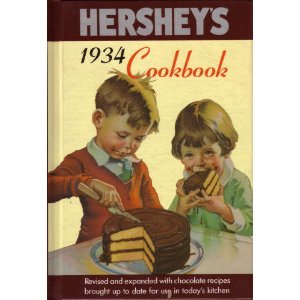
My family is firmly divided on dessert.  I am on the fruit side of the line, but my brother is on the chocolate side with my mother.  Because my most common excuse to bake is family functions, I am always on the lookout for delicious chocolate recipes.  A couple of years ago at my library's annual book sale I picked up a copy of Hershey's 1934 Cookbook, a modern re-print of the original 1934 chocolate recipe collection by Hershey's Chocolate.

These recipes need a delicate hand and a lot of adjustment, because my oven is a lot more powerful than a 1930s oven and I have to check these cakes often or they dry out quickly.  However while these recipes take a little more attention than many of my others, I love the vintage charm in these cakes--someday I will have an excuse to make the truly fabulous depression Potato Cocoa Cakes--and the unique combinations are certainly crowd-pleasers!
I'm getting better with each cake I bake from this book, and this cake was easily the best yet.  Friday was my brother's high school graduation, so this cake was his request: chocolate cake with chocolate icing and more chocolate! 

two of the layers cooling

The cake is the Demon Cake and Bitter Chocolate Frosting recipes from 1934 Cookbook with a buttermilk glaze on each cake layer based on the recipe from The Bake Sale Cookbook by Sally Sampson.  

The Demon Cake is a buttermilk chocolate cake with separated eggs (something common in the cakes in this book): the yolks are blended into the batter while the whites are whipped to stiff peaks and then folded in at the end.  This makes the cake really fluffy and light while preserving the intensity of using unsweetened chocolate.  

stacking the layers

The buttercream is a mix of coco powder and unsweetened chocolate squares.  I also used a few drops of my coveted Mexican vanilla (such a great gift!) and a pinch of cinnamon to give the chocolate some depth.  I wanted to keep this looking classically homemade (even though my brother is the only person I know who actually eats fondant) so the garnish is just a shaved Hershey bar (I had to honor the original!) and a sliced fresh strawberry.  I was so pleased with the way this cake came out-Demon Cake is definitely on the win list!

the full caboodle


Monday, May 28, 2012

A Lemony Centennial

My sister needed something for her bake sale this weekend and I volunteered to help her, which ended up leading on a jump through 100 years of cookbooks to accomplish two projects at once.  Yum! (Unfortunately, in the process of baking and dancing and celebrating I forgot to take a single picture...but the treats were such a hit I thought it was worth sharing the recipe anyway.)

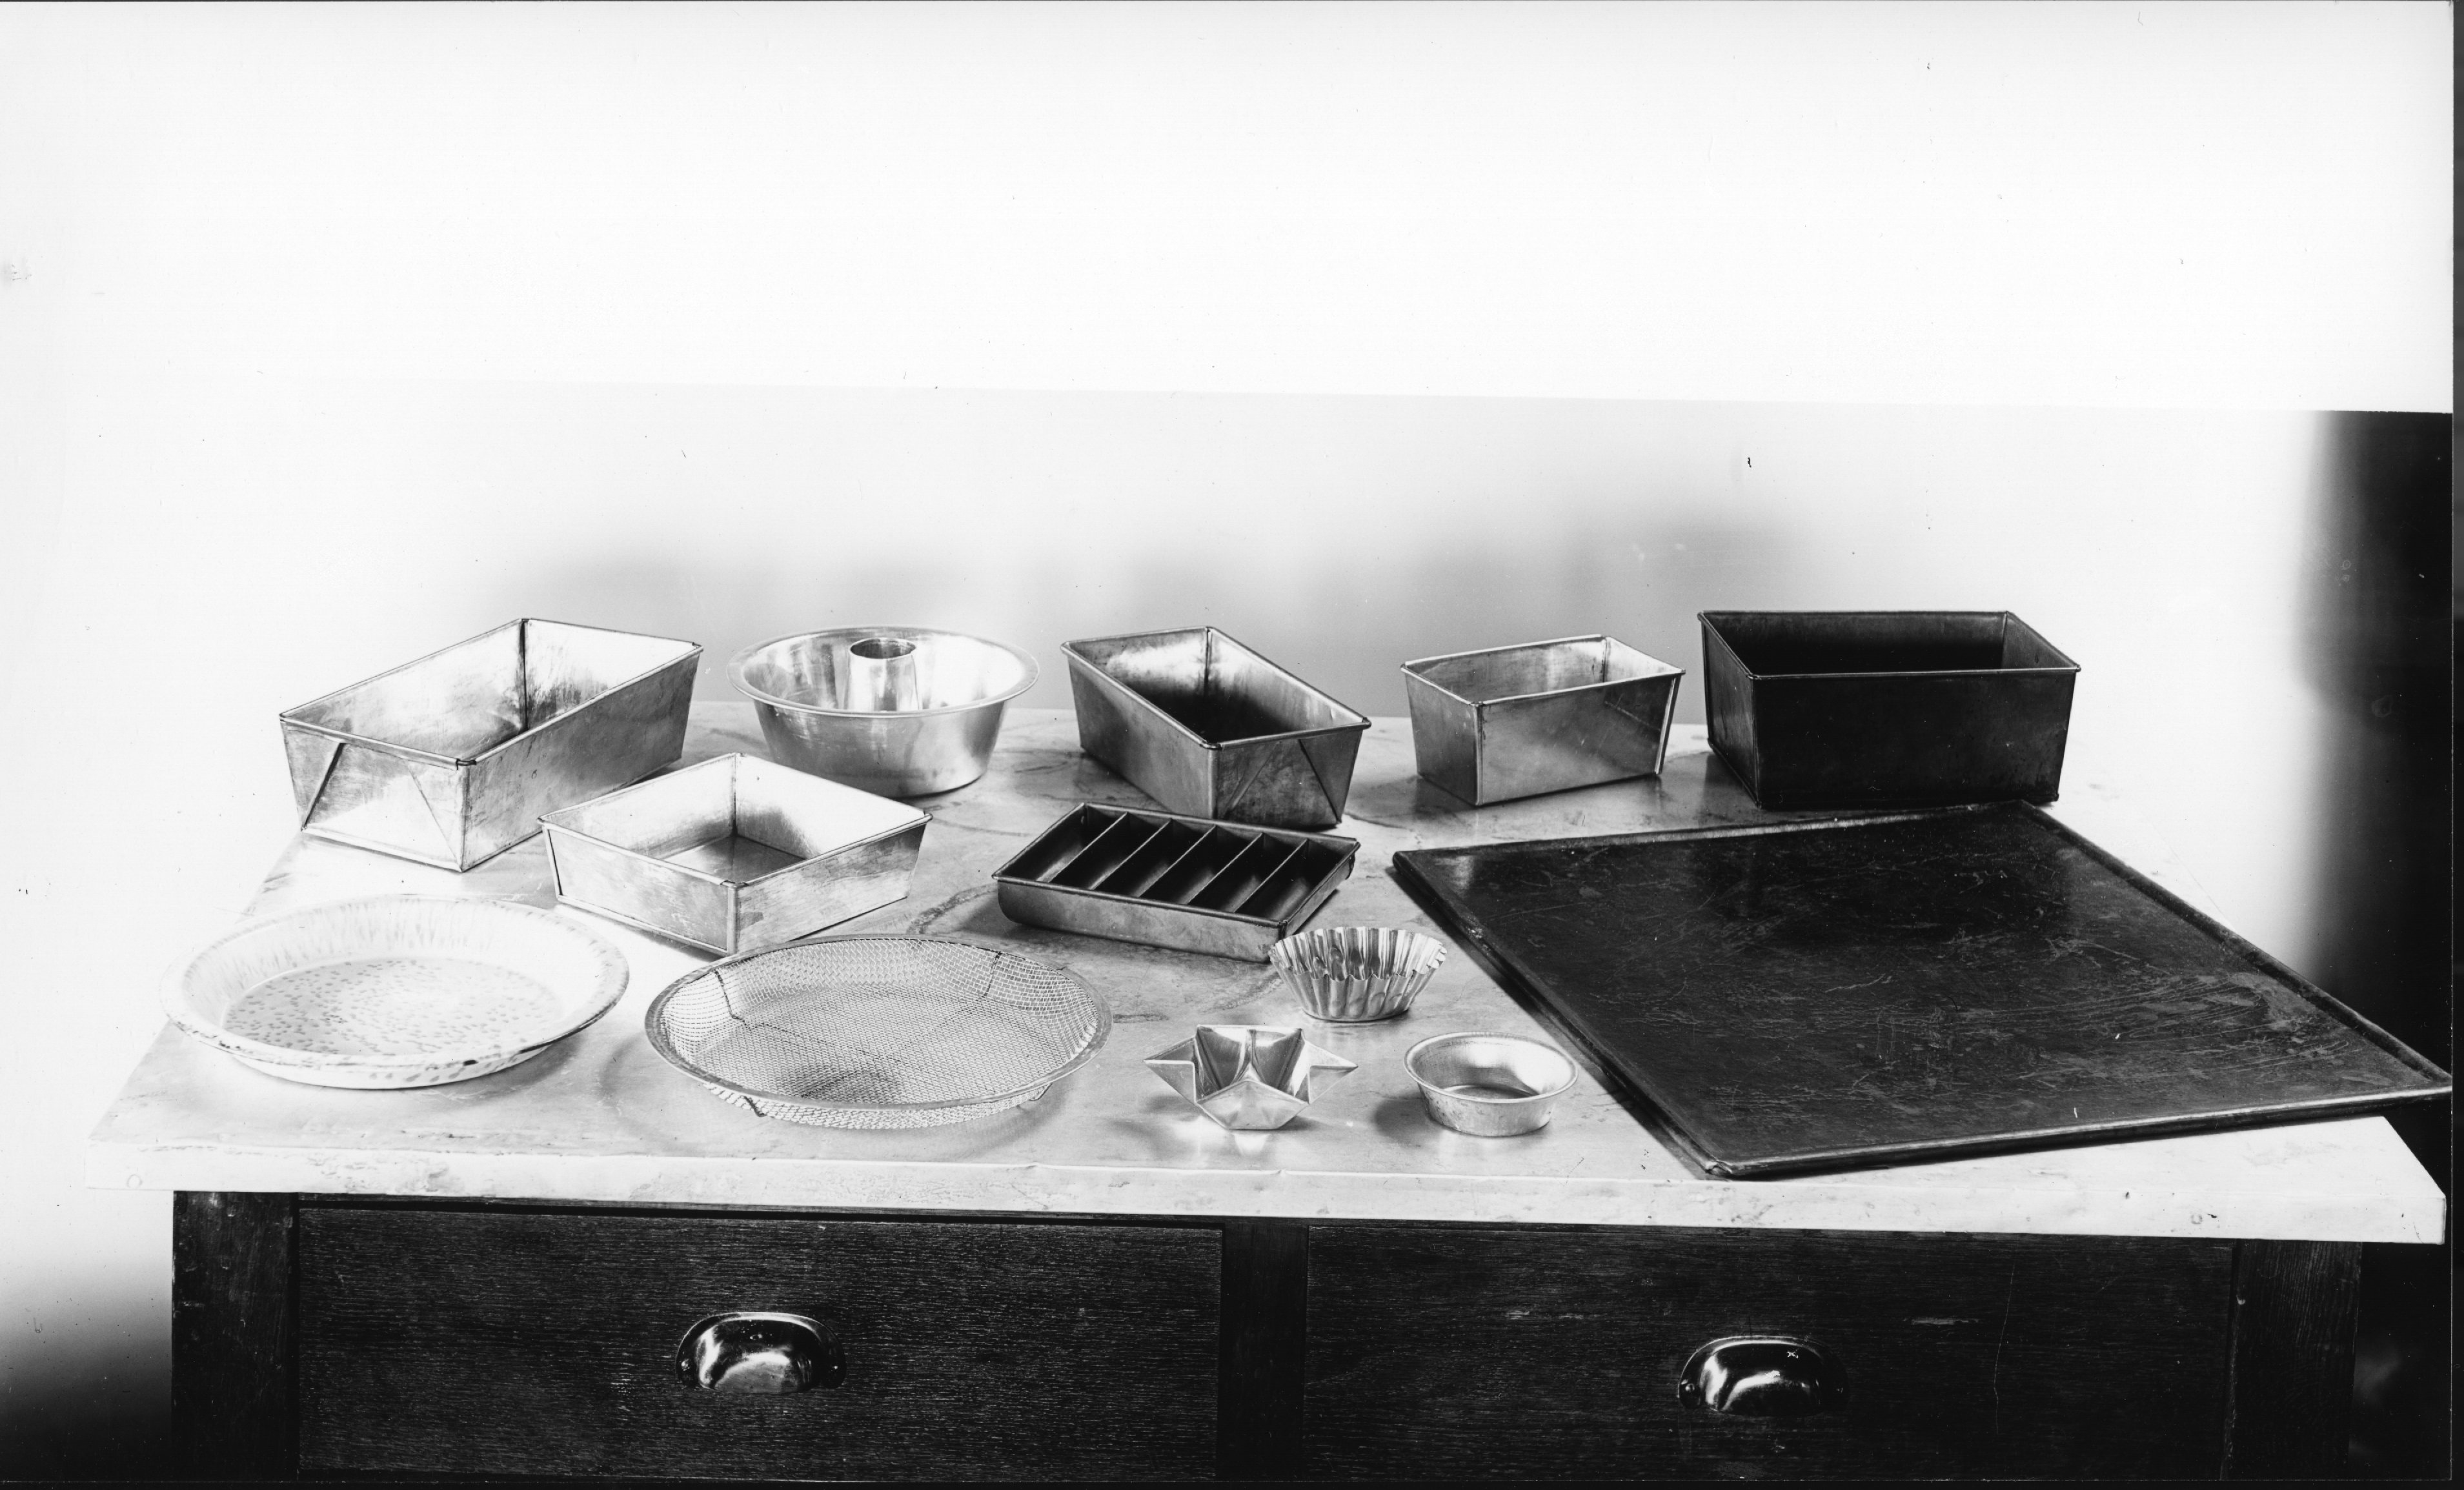
the modern kitchen from "Choice and Care of Utensils," 1912

When she listed all the goodies already claimed, I suggested lemon bars as her/my contribution to the spread; I figured it would be easy to double the batch and bring the rest for the staff and volunteers at the museum.  Then I thought: Why not investigate some 1912 cookbooks and bake something period?

I need to learn how to shorten my adventures, not complicate them, I know.

I ended up on a fun interactive website which presented cooking as a timeline, and links to instructive texts for each point.  The twentieth century had some great selections, including a cooking/storybook for children and the original Jell-O brand recipe book, which I highly recommend taking a peak at.

I settled on the 1912 edition of The Dromedary Cookbook, which you can read for yourself here.


The recipe I used is for a "Lemon Cocoanut [sic] Pie" and is essentially a lemon meringue pie with shredded coconut in the lemon filling.  As the recipe did not include a particular crust, I used the Joy of Cooking* shortbread crust I used for my sister's lemon bars.  The original recipe is a cooked milk- and cornstarch- based filling, but in order to make things easier I used the egg- and flour- based recipe for the lemon bars, but with the additional seasonings. (I know, I know, cheating...)
After the batch was ready I poured out the lemon bars and folded in the shredded coconut before adding to the pre-baked shortbread crust.

pie trick: I always bake 1-crust pies in a tart pan.  The crust always comes out perfectly crinkled!


Overall, this recipe was super easy, and while not exactly the 1912 formula, the flavors are the same and it was perfect for the event.  Plus, my sister had very chic 2012 lemon squares for her bake sale.

Centennial Lemon Coconut Pie (or bars!), adapted from the Dromedary Cookbook and Joy of Baking
for the crust:
1 c. butter (2 sticks)
1/2 c. powdered (confectioner's) sugar
2 c. all-purpose whole wheat flour (white flour would work too)
1/4 tsp. salt
2 tsp. (or to taste) orange or lemon peel

Preheat oven to 350 degrees. Cream butter and sugar until smooth.  add dry ingredients until just together, but still crumbly.  press into pie or tart pan and bake for about 18 minutes, until edges are just browned. Remove from oven and let cool while making filling, but don't turn off the oven!

for the filling:
Depending on the size of your pan and how full you like your pies, this may need to be adjusted. I originally doubled this but ended up with extra so I'm halving it here.

1 c. granulated sugar
2 whole eggs
about 1/3 c. lemon juice (real lemons are always better than bottled juice!)
1 7 oz. bag of shredded coconut (or less, if you want to limit the coconut flavor.  The original recipe called for 2 c., which is around the amount in the bag)
2 tbs. all-purpose whole wheat (or white) flour

Beat sugar and eggs until light in color and fluffy.  Add the lemon juice and mix fully before folding in the flour.  When the flour is fully incorporated fold in the coconut and scoop into cooling pie crust.  Return to oven (still 350 F) for another 18 min or so, until crust has formed on top and the edges of the filling have started to brown.  At this point the filling should be set but still jiggly.  Let cool completely (overnight is best) before cutting.


*The Joy of Cooking was first published privately in 1931 before being picked up for national distribution in 1936.  Even my modern sources are vintage...

Monday, February 6, 2012

Sugar Therapy

I tend to bake when I'm stressed, and the combination of crunch-time on my thesis and announcements means that I've been really stressed lately.  That, combined with a failed attempt at a night out, meant that by the time I made it to brunch at Ihop with my housemates I was in a pretty miserable mood.  On top of that I was feeling quite nostalgic for my flat in Edinburgh and the mornings when we would wake up after a night out and spend the rest of the day in bed eating junk and watching period dramas.
There is a phenomenal place to pop in for cupcakes on Hanover Street called Bibi's Bakery where we used to get cupcakes on days when a little sugar boost was just the thing.  My favorite from their everyday menu was the banoffee cupcake.  For those Americans who haven't come across banoffee before (it's not as common in the states, I don't think-we stick to 'banana cream'), it is traditionally a pie made of bananas, toffee (in this case aka dulce de leche, a caramel made from boiled condensed milk), and cream.  I'm actually not a big fan of the pie, but Bibi's cupcake version is amazing.  So the combination of nostalgia and stress led to an evening of experimentation and some delicious banoffee cupcakes, recreated at home in New York.
the final product-yum!
I read through a lot of recipes before I started, and here's what I ended up with:
Banoffee Cupcakes (adapted from Gina's Banana Cupcakes)
Makes 24

2 cups all-purpose (unbleached) flour
1 teaspoon baking powder
1 teaspoon baking soda
1/2 teaspoon salt
2 sticks butter (unsalted)
1 cup sugar (I went a little light on the sugar because of the filling and frosting, but if you like things sweet then use the full amount!)
1/2 cup plain non-fat yogurt
3 teaspoons vanilla extract
4 eggs
4 over-ripe bananas (I only had slightly ripe ones, so they weren't mushy...it still works, but you need to mash them extensively with a fork or potato-masher before adding them to the batter)
12 chewy caramels, cut in half (the kind you buy to melt down for caramel apples, etc.)

Preheat oven to 350 degrees F.
Combine dry ingredients and set aside.  Cream (I bake by hand mostly but you can also use an electric mixer) butter and sugar until fluffy, then add yogurt and vanilla.  Beat in eggs one at a time.  Add mashed bananas and mix until thoroughly combined before adding dry ingredients slowly.
When fully mixed, scoop about 1/4 cup into a muffin pan lined with cupcake papers.  These puff up, but you want the liners to be about 3/4 full.

Now comes the tricky part.  I ran a test of 3 cupcakes before I put in a full tray, and I recommend you do the same to make sure the timing is right-everyone's oven is just a bit different.

Bake cupcakes for 8 minutes, then remove tray from oven (close the oven and do this on a counter so you don't cool the oven by holding it open!) and quickly place 1 caramel half into the center of each cupcake.  Leave a small amount sticking out of the top-they sink a bit and the cupcake will rise around the candy.  Put the cupcakes back in the oven and bake for an additional 12 minutes.

Remove from the pan as soon as they come out of the oven and let the cupcakes cool completely before frosting.

**The cupcakes bake for about 20 minutes total, so adjust the proportion of pre- and post-caramel addition baking times for your oven.

For the holidays one of my housemates gave me real vanilla extract from Mexico-it's so much better than the stuff I buy at the grocery store!  I used one of my favorite frosting recipes for these, because it's super simple and with good vanilla really tastes like fluffy heaven...and I'm not a frosting person.


Magnolia Bakery's Vanilla Buttercream (adapted slightly from the original)
Makes enough to lightly frost 24 cupcakes (Mine are very lightly frosted, but I had a lot left over)-if you plan to pipe frosting, or frost a cake, double this


1 stick of butter (unsalted)
3-4 cups confectioners' sugar
1-2 tablespoons milk
1 teaspoon vanilla extract (or more to taste if yours isn't as strong)

Beat butter, vanilla, and milk until creamy and not stick-shaped.  Add sugar 1 cup at a time, beating thoroughly after each addition (I don't recommend doing this by hand-I use an electric hand mixer. It's a LOT!).  When all sugar has been added and mixture is combined, set a timer and beat for an additional 5 minutes.  Frosting should become fluffy.

I will definitely be making these cupcakes again.  I finished them late last night, and out of 24 there are only 3 still left.  The only changes I would make are to use really mushy bananas and try replacing half the normal sugar with brown sugar...hmmm.
This is the thing I love most about baking, really: it's the only experiment you can eat afterwards.

YUM.