Sunday, March 27, 2016

The Versailles Project: Inspiration

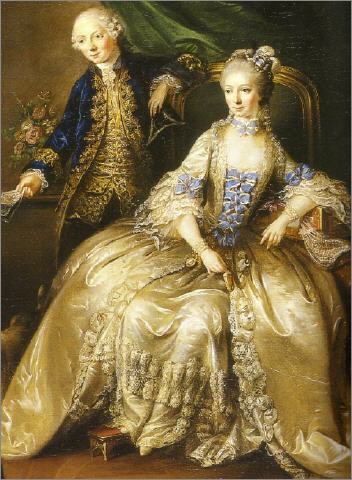
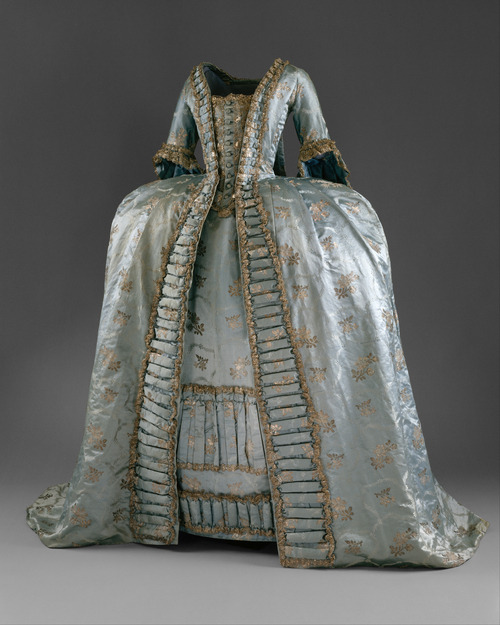
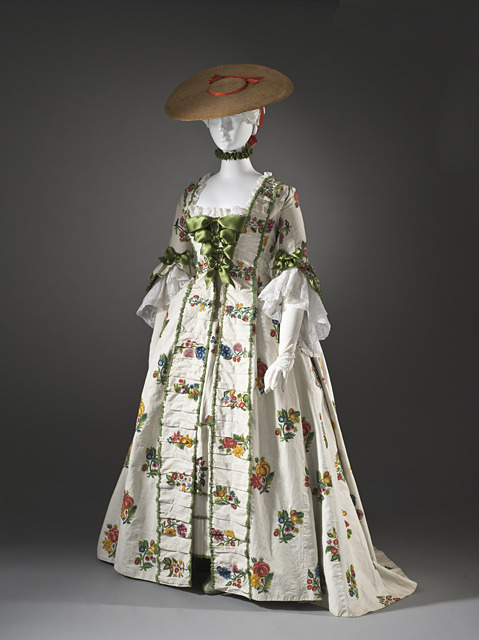
This year I am heading on a new adventure into the 18th century! I've always been interested in 18th century history (Boston is so full of it, it's hard not to develop an appreciation), but never enough to actually break into the clothing. This year I'm getting a big push--I'm heading to a pretty fabulous party at the Palace of Versailles this May. It's a costume-required event, and I'm focusing all my sewing efforts on building the proper attire from the inside out. So far I'm still on undergarments (more on that soon!), but in the meantime, here are some of my inspirations for the final ensemble (a robe a la francaise, because what else would you wear to Versailles?):

Marianne Camasse, 1764
Princess de Lamballe

1765, the Met Museum
1770, State Museums of Berlin

1760, LACMA
Portrait of a Lady, 1768
Notice a theme? Bows. I am really into bows. My gown will be dusky lavender silk, and I'm planning on yellow bows (and possibly yellow shoes--I have a pair of Kensingtons waiting for decoration) with self fabric trim. To the 18th century!


Monday, March 21, 2016

GBVS White Lightning Ball

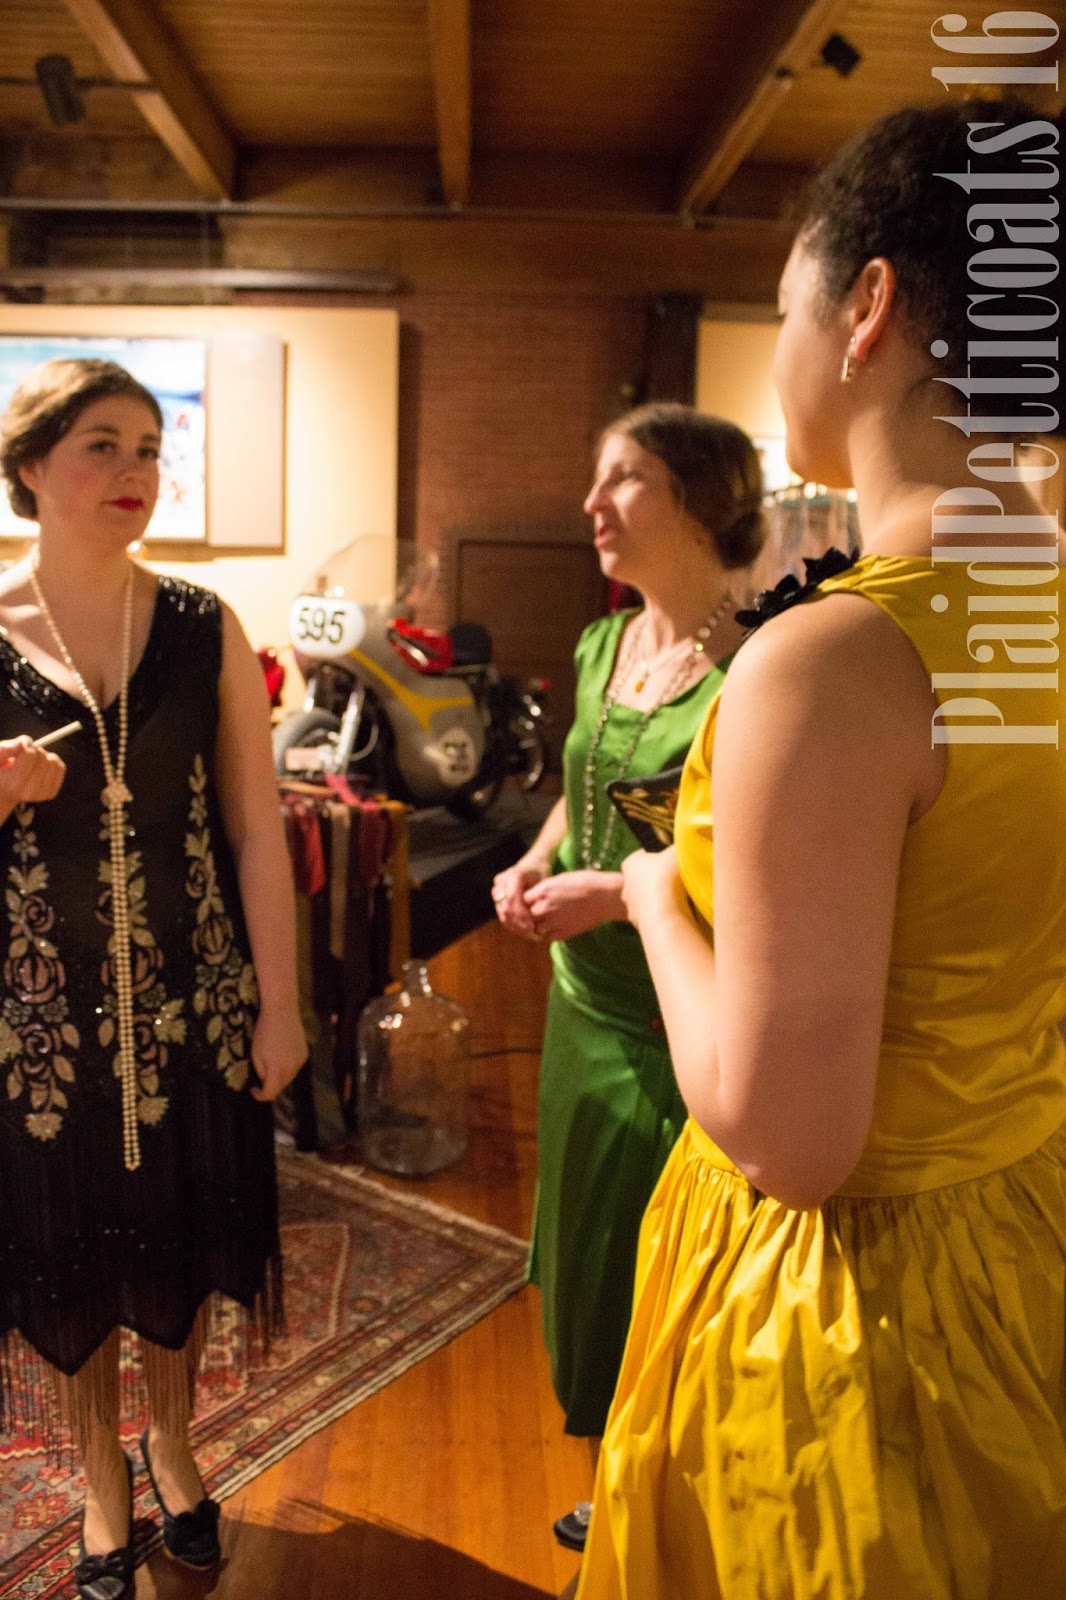
Last weekend I ventured out of my work/grad school hole to the 1920s, where I attended the Greater Boston Vintage Society's White Lightning Ball. I attended this event in its first year, but missed last year, so I was excited to see how the event has developed. 

It was a lot of fun, because I got to spend time with wonderful people--some of whom I see quite frequently, and others I only see at events. I also explored the downstairs car displays at the museum (the event is held at the Larz Anderson Auto Museum). I don't remember if the lower floor was closed the first year, or if I just didn't know it was there...but either way, it was new to me! We had fun looking at the cars--there was even a custom touring model with a built-in toilet for long trips!

gathered friends
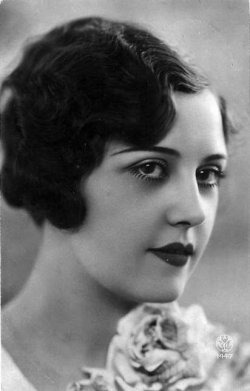
Over the last year or so I've been practicing setting my hair in pin curls and marcel waves for various 20s, 30s, and 40s events, and I think that finally paid off. Early in the day I set the front of my hair in marcel waves by creating the overall shape and clipping it with salon clamps, and then pinching each section into wave clips to create the iconic ridge. (Both sets of clips and my setting solution of choice, Lotta Body, are from Sally Beauty Supply.) The top and back I set into large pincurls--I probably should have done smaller ones, but at this point I was losing steam and my hair was getting fussy. When I got ready for the event in the evening, I took out the curls and brushed them, then basically twisted them back into loops and pinned them wherever looked good. The front waved sections I combed (to get rid of the severe crinklyness from the setting solution without losing the wave) and layered with some scrap gold sequin trim to create a headband. I was really pleased with the way this came out! I learned a few more lessons, but overall this felt like a big payoff of all the practice.

side part and dramatic waves
pinned up curls under waves
Of course, I sort of failed at pictures...but I did manage enough to show off my hair, so that's something!

dramatic waves!

this doorway just spoke to me...

checking out the motorcycle exhibit in the back gallery
One place I'm still struggling is with my ears. In pictures of women from the period, their ears are mostly covered by their hair--but hair over my ears feels so strange! I'm not used to it, so I never want to do it. I think this style struck a pretty good balance by covering only half of each ear, so that's progress.

Friday, February 19, 2016

Quick Publication Announcement

Well, my sewing may have slacked a bit this month (I did start 18th century stays, so that's something?), but I am pleased to say I got to spread a little of the plaid love!


An article I wrote on the basics of tartan and tweed (and their differences) has been published by The Greater Boston Vintage Society. Hooray!

Friday, February 12, 2016

Just for Fun: How to Dance Like a Regency Zombie

It's Friday, and I have been working so much that I'm pretty sure I'm turning into an actual zombie (or at least the corporate kind).

For anyone else who's ready for a break, I wanted to share this video (made by my amazing friend, who filmed, directed, and edited) from after hours at last weekend's Regency ball.

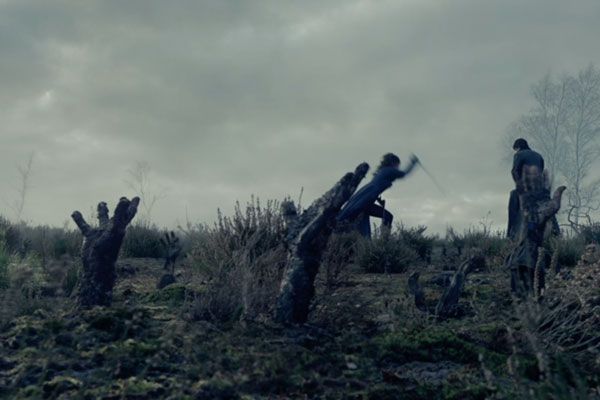
In Pride and Prejudice and Zombies, Mr. Darcy says that any zombie could probably shuffle through a dance. Just what does he mean?

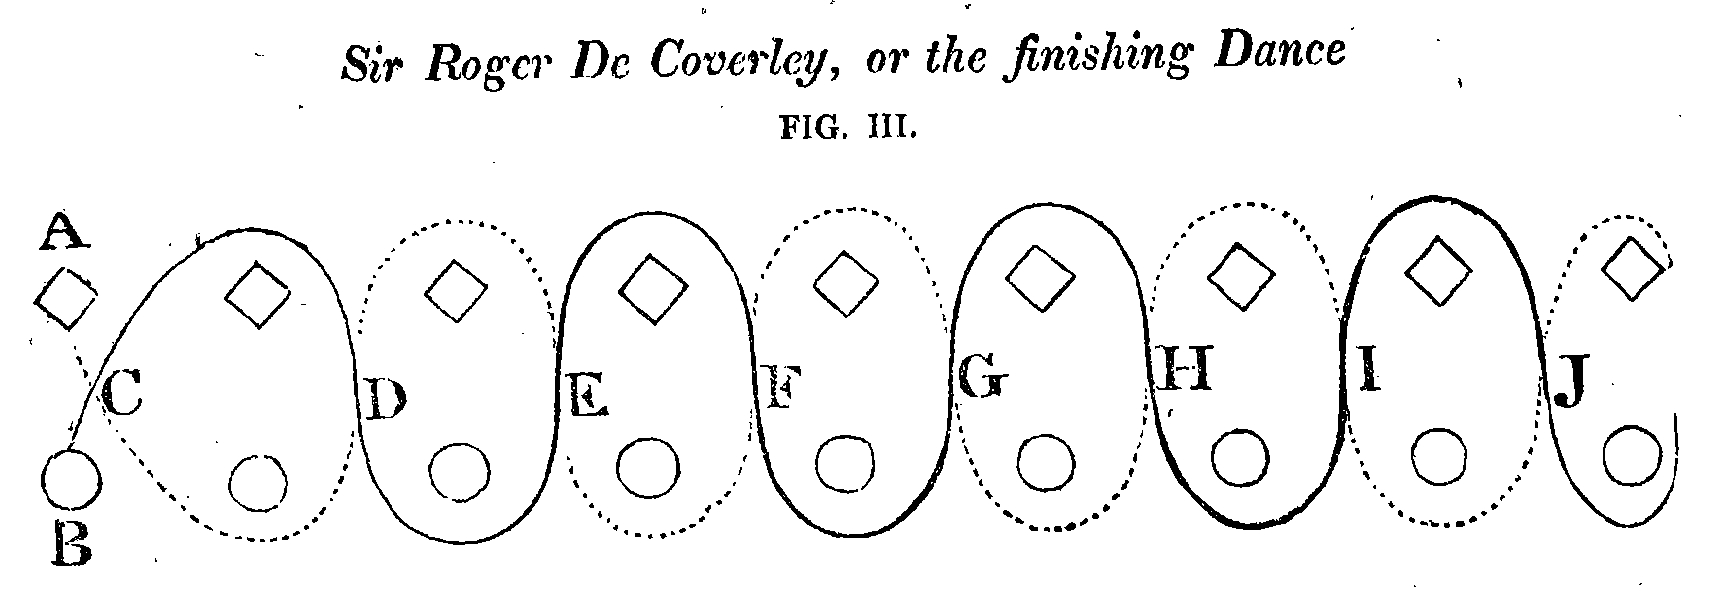
a diagram of the "shoelaces" figure in Sir Roger De Coverly, a popular dance from the period (that appears in A Christmas Carol)
Regency dancing often involved dancing through patterns within a set of couples using energetic steps. Some fellow Regency dance enthusiasts and I decided the reconstruct a particular dance* that we felt would be most fitting to zombies...


(*as you may have noticed, this is not an exact reconstruction of a period dance. It was instead choreographed by our excellent ringleader wearing white.)

Sunday, February 7, 2016

Pride and Prejudice and Zombies: A Review

After the recent Pride and Prejudice and Zombies ball at Arisia (my favorite local SF/F convention), a hellish couple of weeks, and the upcoming Regency ball this evening, a friend and I took a break last night to go see the new Pride and Prejudice and Zombies movie. I thoroughly enjoyed it, and was disappointed to see it mostly getting panned in reviews...so I'm offering my alternative (spoiler-free!) opinion on the topic.
If you're unfamiliar with the movie, I recommend this first trailer to get a feel for the tone:


To use a favorite word: it's wackadoodle. And that was utterly perfect. (I should also perhaps offer the disclaimer that I greatly enjoyed Hansel and Gretel: Witch Hunters, and my favorite book is Pride and Prejudice, so I am the exact target audience for this.)

the Bennett sisters in a promotional image for EW
The movie opens with a prologue scene explaining Netherfield's lack of tenant (until Bingley lets it) and introducing the zombie problem currently facing the British countryside, and offers a brief history of the current zombie apocalypse told through paper scenes reminiscent of 19th century toy paper theaters. It was these nods to the real Regency period that made me feel like the film team "got it," enabling the departures from period accuracy (such as the use of leather on a few zombie-fighting ensembles) to become deliberate bits of world-building and silliness.

a toy theater from the Bruce Museum
And there was quite a bit of silliness! I have to admit I haven't read Grahame-Smith's mashup novel the film was adapted from, so I can't speak to its faithfulness, but I felt the script did a solid job turning several iconic scenes from Austen's original work on their head without losing the heart of it. For example, Jane's illness at Netherfield is doubly tense because the flu is still potentially deadly (the technology of PPZ's Regency era is not upgraded from the real world--except perhaps in weaponry, but I can't speak to that), but also there's a chance it's not the flu, and Jane will emerge undead. PPZ's Elizabeth Bennet is still sharp-witted and exasperated by her family, but also much more physical, as she is a trained zombie warrior. Thus, several of Lizzy's most famous verbal battles (such as Darcy's first proposal and Lady Catherine's visit) are zombified by keeping the dialogue quite faithful but including physical sparring as well. As an Austen aficionado (to steal a phrase from Austenland) and an action comedy fan, I very much enjoyed this combination.

Lizzy tending to a weapon in her bedchamber, via Screenrelish
 I was also pleasantly surprised by the costumes. With the glaring exception of Lizzy's first ballgown, which looked like a rather tacky prom dress (and I'm convinced was only included so that they could use that scene for promotional stills and posters), the overall look was pretty good, with lovely printed cottons, fluffy chemisettes, bonnets and spencers or pelisses worn outdoors, and gloves at the ball. A particularly notable part was that all of the women were clearly wearing stays (in addition to several getting dressed scenes, where they were visible) as their silhouettes and the fit of their dresses looked believably Regency. Also, the girls fought dressed like that! There were several flashes that revealed the dresses were slit partially up a leg for easy access to thigh-holstered weapons and movement for kicking, but I liked that as a modification of their clothes to accommodate a zombified world without suddenly putting everyone in pants. I dance, climb fences, and run amok in Regency dresses frequently. It can be done! So that really pleased me. I'm assuming the designers also chose to replace the girls' petticoats with weird ruffled hotpants in the dressing scenes (you get some petticoat flashes during the fights) for the same thread--so the audience could see their fabulous thigh holsters--but they were my one really jarring complaint on the costume front. Because the underpinnings and cut of the clothes were so acceptable, it made the little zombified details (Darcy's long leather coat, Lizzy's leather-collared, paneled pelisse, some of the chemically-bright colors) feel like fun touches on a historical palette, rather than cringe-inducing weirdness. It helped that the designers also made sure such zombiefied touches appeared in scenes with actual zombie fighting, while more Austen-esque scenes, like balls, were more traditional.

Stays! (and weird hotpants, but oh well.)
Jane taking on a zombie in full Regency dress (via EW)

Lydia's pink pelisse is utterly cute, and the detail on Lizzy's sleeve (which is hard to see in this EW image) was really lovely
The plot also moved along at a quick pace, which served well to mask some of the really big plot issues, but resulted in the loss of some content from the original Austen (although in a 2-ish hour movie that's to be expected). Overall, I appreciated that the writers tried to have some sort of zombie-related plot (rather than just having there be zombies), but that plot was a little weak in the being well-plotted department. This didn't really bother me, as the film spent most of its time doing better, more Austen-y things, and the zombie plot bits were so short I didn't have time to care. The one other weak point was that some of the not-Austen language was jarringly modern. I can't even fault the screenwriters for this, as there's no reason to assume phrases like "zombie apocalypse" wouldn't have existed in an alternate zombie-infested Regency England, but for some reason hearing that sort of thing pop up stuck out to me. Is that reasonable for a movie that is literally setting Pride and Prejudice during the zombie apocalypse? Probably not.

zombies! (via Collider)
PPZ was silly fun, while managing to put together some truly awesome scenes that had me applauding and laughing along with the rest of the theater. It was really fun to see scenes I've read so many times given new "stage directions," so to speak, and I appreciated how much the film felt like it was made with genuine affection for the inspiration material--both the nods to the Regency period, and the nods to action movie tropes (slow motion fighting!). I will definitely be adding this to the list of movies I watch while I sew...it might even inspire me to finish that bonnet I started two years ago.


Thursday, January 28, 2016

Fashion from the 23rd Century: A Tutorial

Sometimes, I need easy, cheap, and washable projects that I can wear without fear to go on adventures.

You might even say, to boldly go...

the crew, shot by Alison--thank you!!

I say, Captain!
Despite being surrounded by a bevvy of "Next Generation" lovers, I am particularly fond of Star Trek: The Original Series--it manages to be totally period and progressive at the same time, and the plotlines are utterly wackadoodle in the best ways. Not the mention the outfits! They're so very 1960s in that particular "space age" way.

from "The Man Trap", via LJ
A couple of years ago, I decided I wanted to go to work as a Starfleet officer for Halloween, so I started looking for a way to whip up an easy and inexpensive uniform. I used an XXL men's long-sleeve t-shirt as the base, and with a little experimentation was able to turn it into a decent version of the iconic "spiral"-seemed dresses the female officers wear on the show.

my first attempt
This was the perfect low-key costume--throw on a dress, add 1960s hair, makeup, and black boots and it's done!

As our favorite local convention rolled around that winter, some friends and I thought it would be fun to go out to the night events as a little Starfleet crew. Having noted all the things I wanted to fix from my Halloween attempt, I ordered another columbia blue long-sleeved shirt and the three of us made new and improved uniforms together. A year later, our crew has expanded...so I decided to promote myself to command and make another uniform.

A couple of thoughts on ST:TOS uniforms first.

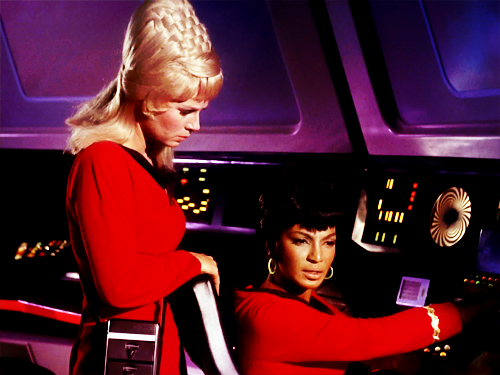
LT Uhura at the control panel
Dr. Noel about to use science
The uniform went through several iterations in both style and color, but the most iconic version is the one that features a flap-front skirt, three seams in a "spiral" across the front of the dress, no waist seam, and an asymmetrical collar.

a breakdown of the uniform by season, via stattrek.com
The uniforms are also velour, so they're actually pretty thick and have a lot of body to them. I based my plans on these high-quality images of Uhura's original costume from the 1701st forum:


While my dress doesn't have that heavy drape, it does mimic the original seams without requiring all the weirdly-shaped pieces the licensed pattern uses.

If you've got an evening to kill, a buddy, and a men's long-sleeved tee, you can make a pretty fab and comfy original series uniform.

careful, these have been known to multiply...
For this mission, you will need:

1 men's long-sleeved t-shirt a couple of sizes too large (I prefer XXL) in columbia blue, goldenrod yellow, or bright red
1 black tee-shirt, either new or old (for the neck)
thread to match your shirt
an insignia patch (mine are from 8BitSpock on Etsy)
gold ric-rac (rank dependent)
sewing supplies (fabric scissors, pins, sewing machine)
(optional: if you want that smooth-torso-defined-waist-high-boob look, you'll need to wear the right foundation: a long-line bullet bra. If you plan to do so, I highly recommend fitting your dress over this!)

First, iron your shirt and turn it inside out.


Start by cutting out the neckline: locate center front, and then go a little bit to the right of that (this will be the left when it's actually on your body). This will be your lowest point. Cut out the neckline, sticking about to the seamline from the original shirt, and then create a "v" shape at your located point.


Next is the front flap: run down from the low point to the hem of the shirt. Mark that. Try the shirt on, and mark where the top of your hip is. This will be the location of your overlap. Cut up from the hem in a straight line to the top of your hip, and then over to the left a couple of inches.


Finish the right edge of your cut, then pinch the fabric above the flap until the newly finished edge overlaps with the other side (eliminating the opening). Pin closed.


Keep pinning up the front of the shirt, creating a tuck from the hem slit to the neckline.


Sew along the tuck to create a seam, leaving the bottom flap open (how much us up to you--mine is all the way open, but most of my friends' uniforms are sewn closed at least part of the way down).

seam #1 on the "right" side
Next create the two spiral seams with a buddy: put on the inside-out shirt, and have your friend create a tuck running along your right side from neck to armpit. This doesn't need to use much fabric. (I took pictures flat to get a better view, but trust me this is much easier to do on the wearer!)


Next, repeat this process to create the long diagonal seam the runs from the neck point to the hem. As your friend pins, have them pull out fabric from under your bust to make a more defined waist--but remember, you're only creating a seam on one side, so however you pull in the fabric it needs to keep everything symmetrical. (this sounds impossible, but it does work!)


Now it's time to dart the back! The original has princess seams and a second flap, so we're going to do something similar. Have your friend create two tucks from the neck to the waist, taking out as much as you need to to create a smooth, fitted back. Extend one dart all the way to the hem as a tuck, and leave the other at the waist.


Finally, make it fit: Have your friend pin all the excess material out, from wrists to waist, tapering out towards the hem (the "skirt" should stay full). Depending on how much material you have, this can create some pretty crazy wings.


Carefully take this off (use help!), and sew each side from wrist to the end of the dart and trim off the excess. My sewing machine has a nice stitch for finishing stretchy fabric, so I used that. If you don't have that option, just leave a little more of a seam allowance attached.


Make adjustments: if you want your dress shorter, fold up and hem. If you haven't sewn your flap-front all the way closed, finish the edge of the inside piece and tack in place so it doesn't flop. Hem your sleeve edges.

Finally, attach the collar: cut a wide strip from your black t-shirt (I used an old theater shirt), and sew into a continuous piece. Attach it to the raw edge of your neckline.


Fold over and finish using your method of choice. Don't forget, this won't show evenly all the way around! There should be more visible black at the low point, and the collar should stand away from the dress slightly.


Make yourself part of the crew: sew your insignia at the neckline point at the straight vertical seam, and sew gold ric-rac to your sleeves based on the rank you've assigned yourself. (If you need help, here's a handy chart!)


via fuckyeahstartrektos


And that's it! You're done! Adding winged eyeliner, beehive-d hair, sheer black tights, and black boots will finish you off.


Just remember to set phasers to stun.

red shirt down!