While in the past I have thrown together bustled ensembles for steampunk events and college shenanigans, before April I had never attempted an actual 1870s gown. So when I started this project, I told myself I just needed to go slowly and focus on making something that fit well.
But then I got...fussy.
And by fussy, I mean I couldn't get Tissot and The Buccaneers out of my head, and so my simple plan somehow developed a lot more ruffles. The romancey cupcakey dresses I imagined in palaces were the only thing I wanted to make.
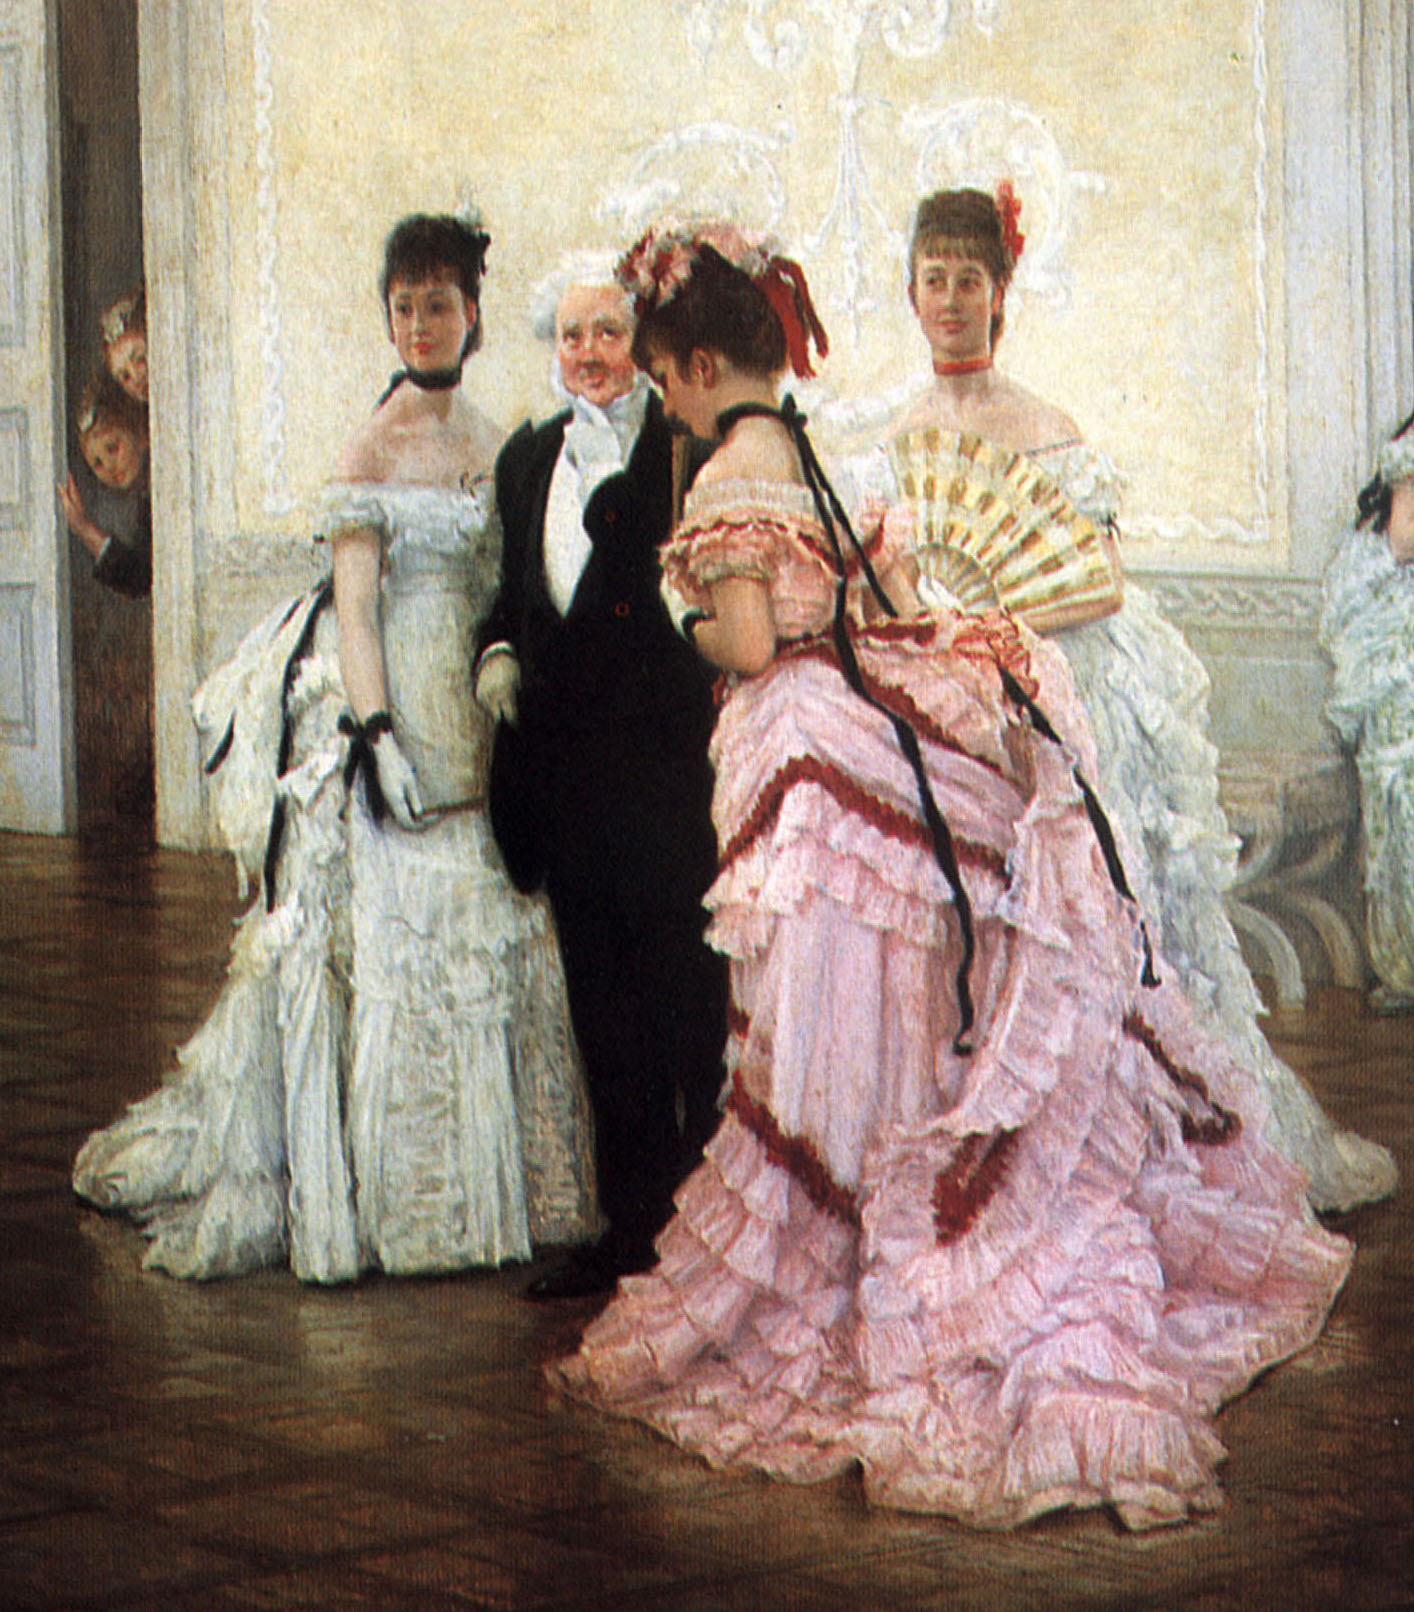 |
| "Too Early" by James Tissot, 1873 |
Then once I had an idea in my head, I didn't want to give it up--which made finding fabric a lot more difficult! As time ticked towards my flight and I got more desperate, I tried something crazy and ordered sheer cotton voile curtains on Amazon. They were available on Prime, they were a nice stripe, and they would have to do. Once they came, I took a quick trip to Homegoods with The Boy, who helped my sort through bedding options to find a suitable set of queen-sized cotton sateen sheets to use as an underlayer.
In the end, this ended up being a blessing in disguise because as I ruffled away I ran out of fabric...but it was easy to order more curtains from Amazon! Even so I don't think I would recommend the home furnishings approach to fabric shopping--everything I bought swore it was 100% cotton, and not a bit of it was. This was some dead Dino all the way.
I was also lucky in that several years ago I made my
first 1870s dress, modifying a Truly Victorian pattern to work with a natural form silhouette. I still had the pattern pieces already fit to my body, so I was able to save a lot of time by being able to just cut things out and go! This time I used the original back pleats since I wanted the bustle silhouette. (I took a look at the TV website and I no longer see this particular pattern listed, unfortunately, so I couldn't figure out the number!)
The sleeves I cut just using a little math, and consist of a striped bias-cut overpuff with a fitted gold undersleeve.
Like many women traveling to Bath before me throughout the 19th century, I bought some accessories at the indoor market (friends are a great and terrible influence). So I also dressed the bodice with a new metalwork brooch and my hair with a gold and pearl comb, which worked well with the earrings and necklace I had already planned to wear, and I think the brooch especially finishes the bodice nicely. I would have been rather plain without it!
 |
| back pleats in the bodice |
 |
| can you see my secret plaid on the overskirt? when the sheer layers of stripes overlap magic happens! |
For the skirts I started with
TV208 (trained skirt ensemble), which includes both under and overskirts in the pattern. For the underskirt I actually made two skirts: a cotton sheet base layer and a sheer curtain with vertical stripes. I also included a pocket for the first time! Oh my goodness, I want to put pockets in everything now. It was way easier than I expected and so useful. The skirts are assembled separately (the pocket is in the base layer and the sheer stripes have a pocket slit in the side seam), but attached as one to the waistband.
I cut both skirts without a train, as this ensemble was purpose-made for dancing. (PSA: never drag your train on the dance floor!!!)
For the overskirt I used apron front B and a draped/improvised back based on the little fabric I had left. Both are cut with the stripes going horizontally. I plan to order more fabric to improve the back in the future! I also added a butt bow based on some fashion plates from 1873-1874 made out of a pillow case from sheet set.
Finally, everything is trimmed with bias ruffles (2 ruffle layers on the underskirt, 1 on the apron) and pleated satin ribbon trim. I couldn't find multiple widths of the same cream ribbon, so I folded it to create proportional ribbon sizes for each layer: the underskirt is the full width (2" I think?), the apron is 3/4 width, and the bodice is 1/2 width. (Many many thanks to Peryn and Emma for help slamming the last bits of trim and hooks and eyes onto the bodice the day of the ball!)
While there are a few things I plan to adjust before I wear this again (if I ever wear this again...I don't typically do 70s!), overall I am quite pleased with the way this turned out. Being fussy (and working with incredibly fussy fabric) had a happy ending!
 |
| yes yes, I'm a ballerina. |


I'd like to let you know that I've nominated you for the Mystery Blogger Award!
ReplyDeletehttps://thequintessentialclothespen.com/2018/06/18/mystery-blogger-award/
Best,
Quinn